
To install a pressure-side pool cleaner, start by gathering your tools and checking that your pump and return line are clear of debris. Attach the hose securely to the cleaner and main return jet, ensuring all seals are tight. Position the cleaner in the pool, then adjust the hose length and secure it to prevent tangling. Finally, set the flow rate using adjustable valves for optimum cleaning. Keep going to discover how fine-tuning these steps maximizes your cleaner’s performance.
Key Takeaways
- Identify and clean the main return jet on the pool wall for proper cleaner attachment.
- Connect the pressure-side cleaner securely to the return line and ensure all seals are tight.
- Measure and adjust hose length for optimal reach and prevent tangles during operation.
- Secure the hose along the pool wall with clips or weights to prevent shifting and kinks.
- Turn on the pump, monitor cleaner movement, and adjust the flow rate with valves for effective cleaning.
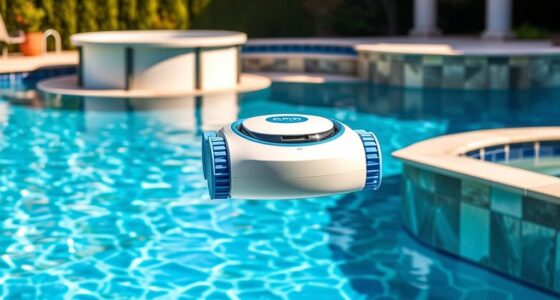
pressure-side pool cleaner installation kit
As an affiliate, we earn on qualifying purchases.
As an affiliate, we earn on qualifying purchases.
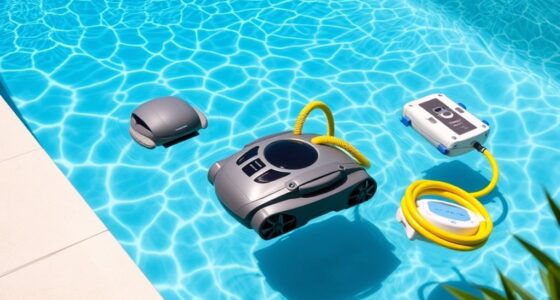
Gathering Necessary Tools and Equipment
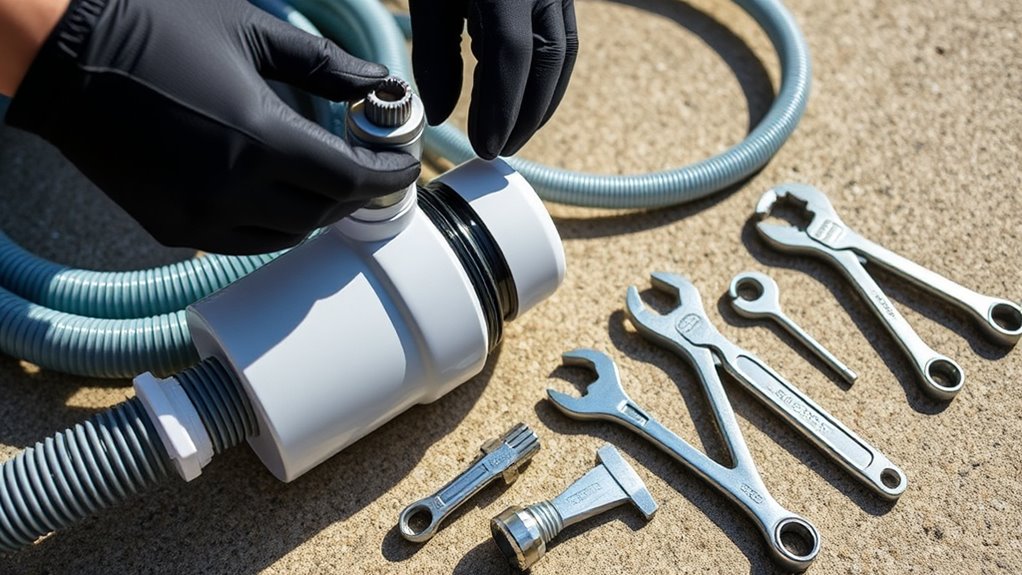
Before you begin installing your pressure-side pool cleaner, it’s essential to gather all the necessary tools and equipment. Having the right items on hand makes the process smoother and guarantees effective pool cleaning. You’ll need basic tools like screwdrivers, pliers, and a wrench to handle connections and adjustments. Also, prepare the cleaner itself, hoses, and any adapters recommended by the manufacturer. Don’t forget to check the pool’s equipment maintenance records—making sure your skimmer and return jets are functioning properly helps the cleaner operate efficiently. Properly gathering these tools and equipment not only speeds up installation but also minimizes potential issues later. Staying organized and prepared will ensure your pressure-side pool cleaner works at its best, keeping your pool clean and well-maintained all season long. Additionally, understanding pool equipment maintenance can help extend the lifespan of your cleaning system and improve overall performance. Regularly inspecting and maintaining your pool’s filtration system can optimize cleaning efficiency and prevent costly repairs.
pool cleaner hose and adapter
As an affiliate, we earn on qualifying purchases.
As an affiliate, we earn on qualifying purchases.
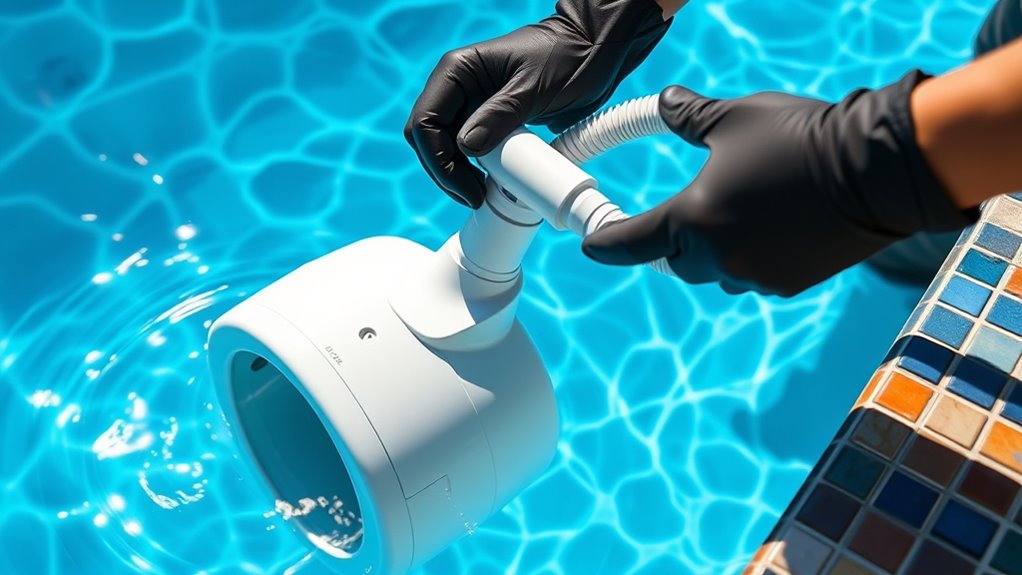
Connecting the Pool Cleaner to Your Pool’s Return Line

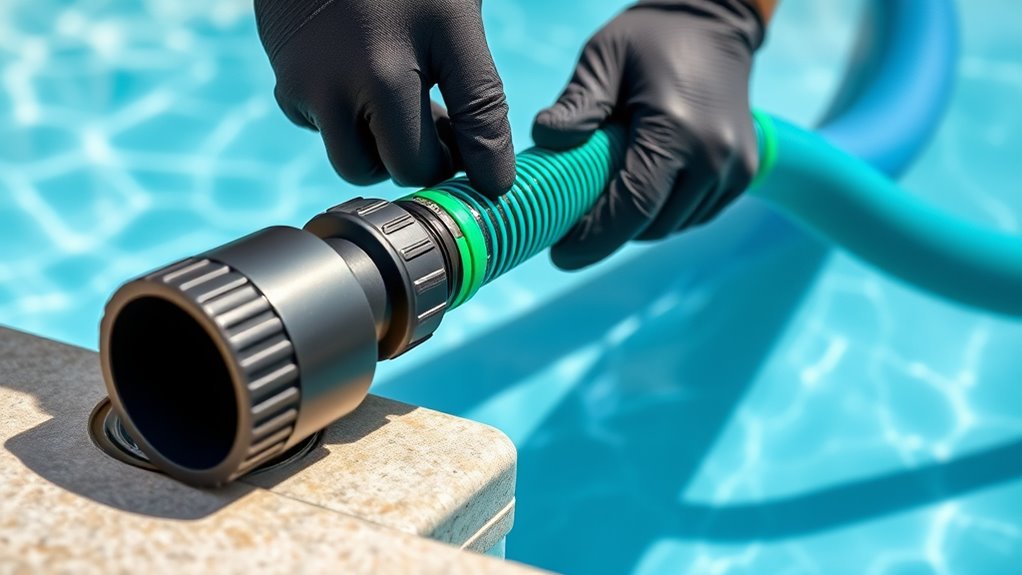
First, locate your pool’s return line where the cleaner will connect. Then, attach the hose securely, making sure it fits snugly into the fitting. Finally, double-check that all seals are tight to prevent leaks during operation. To ensure optimal performance, confirm that the pressure-side pool cleaner is compatible with your pool’s plumbing system. Additionally, verifying proper installation techniques can help prevent issues and extend the cleaner’s lifespan. Ensuring correct connection of hoses can also improve the efficiency of the cleaning process. Proper pressure regulation is essential to maintain consistent cleaning and avoid damage to the equipment.
Locate Return Line
To connect your pool cleaner properly, you need to locate the return line where it’s accessible. This is essential for effective cleaning and maintenance. First, identify the main return jet, usually positioned on the pool wall. Second, ensure the return line isn’t blocked by debris or algae, which can hinder circulation. Third, check that the line isn’t clogged to maintain proper water flow, aiding in pool chemical maintenance. Locating the return line also helps keep your pool deck clean by preventing water splashes and debris buildup. Properly locating the return line simplifies the setup and enhances overall pool maintenance. Additionally, understanding the importance of circulation can improve your pool’s cleanliness and longevity. Recognizing the different types of pipes in your pool system can also assist in troubleshooting and efficient setup. Being aware of local safety regulations ensures your installation complies with all safety standards, preventing potential hazards. Ensuring correct pipe connection techniques can further streamline your installation process.
Attach Hose Properly
After locating the return line, you can proceed to attach the hose to your pool cleaner. Choose a hose material that’s flexible yet durable, like reinforced vinyl, to withstand pool conditions. Make sure you’re familiar with connector types, such as threaded or quick-connect fittings, to match your cleaner’s port. Proper connection is vital for maximum cleaning efficiency.
| Hose Material | Connector Types | Compatibility |
|---|---|---|
| Reinforced vinyl | Threaded fittings | Most standard pool cleaners |
| Rubber | Quick-connect fittings | Easy to attach/detach |
| Polyurethane | Cam-lock fittings | Secure, leak-proof connection |
Double-check connections for a snug fit, preventing leaks and ensuring effective operation.
Ensure Seals Tight
Making certain the seals are tight when connecting your pool cleaner to the return line is essential for preventing leaks and maintaining ideal suction. Proper seal maintenance helps your cleaner operate efficiently and avoids unnecessary wear. To do this effectively, consider these steps:
- Check the gasket for cracks or damage and replace it if needed to ensure a secure seal.
- Tighten the connections firmly but avoid over-tightening, which can deform gaskets.
- Regularly inspect the seals during routine maintenance to catch leaks early and perform gasket replacement promptly.
- Ensuring proper seal integrity also helps prevent leaks that could compromise the efficiency of your pool cleaner. Recognizing that trust issues can develop in relationships underscores the importance of regular maintenance and attention to detail in keeping connections secure and reliable. Additionally, understanding the importance of proper sealing can significantly extend the lifespan of your pool equipment and improve overall pool performance, especially by preventing air leaks that reduce suction efficiency. Incorporating proper inspection techniques into your maintenance routine can further ensure long-lasting, effective seals.
pool maintenance tools set
As an affiliate, we earn on qualifying purchases.
As an affiliate, we earn on qualifying purchases.
Positioning the Cleaner in the Pool

Properly positioning your pressure-side pool cleaner is essential for effective cleaning. Before starting, confirm your pool has the correct chemical balance to prevent debris buildup and protect the equipment. Remove the pool cover to give the cleaner full access to all areas. Place the cleaner in a strategic spot, such as near the main drain or in the center of the pool, to maximize coverage. Avoid placing it too close to ladders, steps, or other obstacles that might hinder movement. Make sure the cleaner is floating freely and not tangled in the skimmer or return jets. Proper positioning allows the cleaner to move efficiently, cover all pool surfaces, and do its job thoroughly. Regularly check its placement to maintain peak cleaning performance. Additionally, understanding divorce statistics can highlight the importance of proper planning and strategy, much like ensuring your pool cleaner is correctly positioned for optimal results. Paying attention to equipment maintenance can further enhance the cleaner’s effectiveness and longevity. For optimal operation, consider proper setup to ensure the cleaner functions smoothly and covers the entire pool area without interruption. Ensuring the cleaner is correctly positioned also helps in maximizing efficiency, reducing energy consumption and wear on the device. Being aware of performance factors can help you troubleshoot and improve cleaning outcomes over time.
adjustable flow rate valves for pool cleaners
As an affiliate, we earn on qualifying purchases.
As an affiliate, we earn on qualifying purchases.
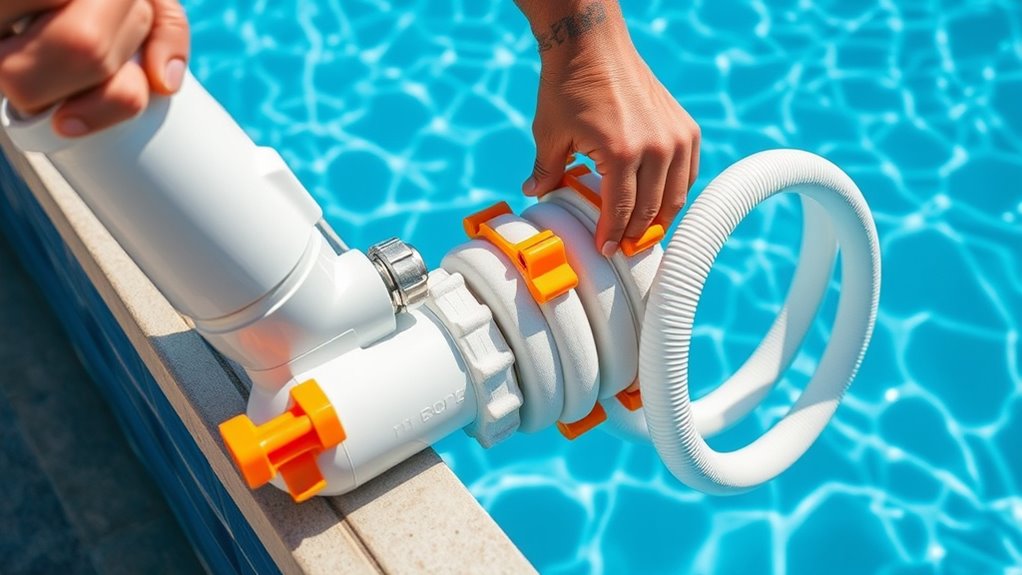
Attaching the Hose and Ensuring Proper Length
Attaching the hose correctly is essential for peak cleaner performance, so take your time to connect each section securely. Proper hose length ensures maximum movement and cleaning coverage, so measure carefully before connecting. Make sure each hose segment fits snugly into the next, paying attention to connector compatibility to prevent leaks or disconnects. An improper length can hinder your cleaner’s efficiency or cause tangling. Additionally, verifying the hose segments are compatible with the specific pool size and shape can help optimize cleaning results. Here are key steps:
- Verify the hose segments match your pool’s size and shape.
- Check that connectors are compatible with your cleaner and filter system.
- Adjust the hose length as needed, ensuring it’s long enough to reach all pool areas without excess slack.
Following these steps guarantees a smooth setup and effective cleaning.
Securing the Hose to Prevent Tangling
Once you’ve connected all the hose segments and adjusted the length, securing the hose helps prevent tangling during operation. Proper hose securing keeps the hose in place and minimizes movement, which can cause tangles and disrupt cleaning. Use hose clips, weights, or zip ties to fix the hose along its length and at key points near the pool wall. Make sure the hose is loosely arranged to avoid kinks but tight enough to stay secure. When securing the hose, pay attention to areas where it might shift or twist. Preventing tangles ensures the cleaner moves smoothly and efficiently, avoiding interruptions and potential damage. Taking the time to secure the hose properly extends the cleaner’s lifespan and optimizes its performance.
Adjusting the Flow Rate for Optimal Performance
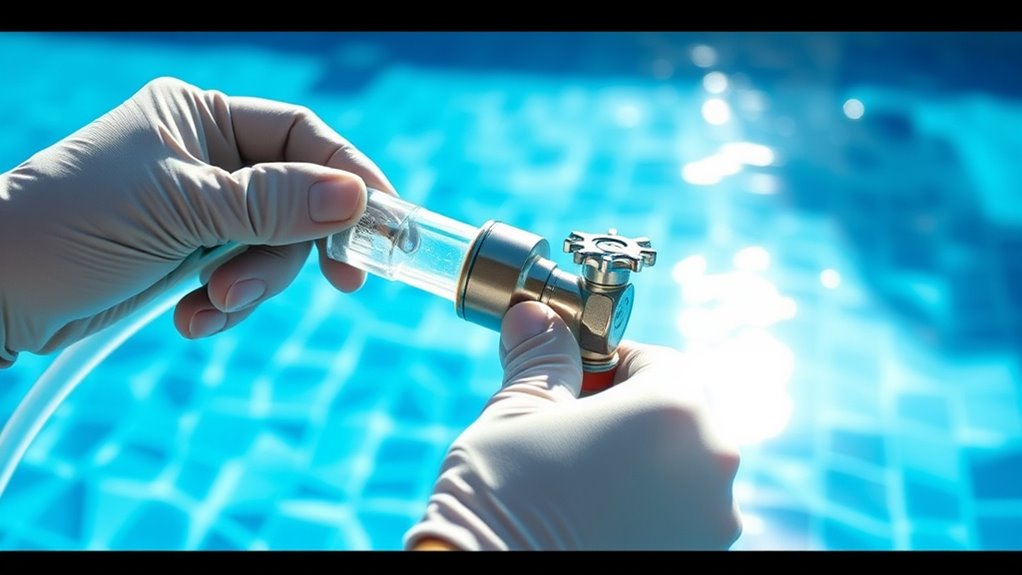
To get the best cleaning results, you need to modify the flow rate properly. Keep an eye on water pressure levels and use adjustable valves to control the flow. Finding the right balance ensures your cleaner works efficiently without missing spots or causing strain.
Monitoring Water Pressure Levels
Monitoring water pressure levels is essential to guarantee your pressure-side pool cleaner operates efficiently. Proper pressure ensures thorough cleaning without damaging your pool or equipment. To maintain ideal levels, regularly check your pressure gauge and look for signs of imbalance. Here are key points to contemplate:
- Ensure the pressure stays within the manufacturer’s recommended range to prevent damage.
- Adjust the flow rate if pressure readings are too high or too low, avoiding unnecessary strain on your pump.
- Remember that pool chemistry affects flow; balanced chemicals promote better water flow and cleaner results.
Always follow safety precautions when handling equipment and adjusting settings. Keeping an eye on pressure not only improves cleaning but also prolongs the lifespan of your pool’s components.
Using Adjustable Valves Effectively
Adjusting the flow rate with adjustable valves is essential for enhancing your pressure-side pool cleaner’s performance. Proper pressure regulation ensures the cleaner moves efficiently without causing strain on your pool’s equipment. To do this, carefully adjust the valve positioning to control water flow. If the flow is too high, the cleaner may move too quickly or miss spots; if too low, it may stall or not clean effectively. Start by increasing or decreasing the valve until you observe smooth, steady movement of the cleaner along the pool walls. Regularly check the pressure gauge to maintain ideal flow. Fine-tuning valve positioning allows you to balance pressure regulation, ensuring your cleaner works at peak performance and extends its lifespan.
Balancing Flow for Cleaning
Balancing the flow rate is key to ensuring your pressure-side pool cleaner operates effectively across all pool surfaces. Proper flow prevents debris from escaping and avoids damage to your pool equipment. To optimize performance, consider these steps:
- Check your pool’s chemistry; imbalanced chemicals can affect cleaner operation.
- Adjust the valve to control water flow, ensuring the cleaner moves smoothly without stalling.
- Follow safety precautions, like turning off the pump before making adjustments, to prevent accidents or equipment damage.
Testing the Cleaner and Making Final Adjustments

Before you fully rely on your pressure-side pool cleaner, it’s essential to test its performance in the water. Turn on the pump and observe how well the cleaner moves across the pool surface. Good pool circulation ensures the cleaner reaches all areas, while effective debris removal indicates it’s functioning properly. Watch for any spots where the cleaner stalls or misses debris, and check that hoses are securely connected. Adjust the flow rate if needed to optimize cleaning efficiency. Make sure the cleaner is moving smoothly and covering the entire pool floor. If you notice issues, tweak the valve or hose placement until you achieve consistent movement. Testing and fine-tuning now will help your pressure-side cleaner perform reliably, keeping your pool spotless.
Frequently Asked Questions
How Often Should I Clean or Replace the Pool Cleaner’S Filter?
You should regularly perform filter maintenance on your pool cleaner to guarantee ideal performance. Typically, check the filter weekly during the swimming season, and clean it as needed. Replace the filter according to the manufacturer’s replacement schedule, usually every 1 to 2 years, depending on usage and water quality. Regular filter maintenance and timely replacement keep your pressure-side pool cleaner running efficiently and extend its lifespan.
Can I Use the Pressure-Side Cleaner With a Saltwater Pool?
Yes, you can use a pressure-side cleaner with a saltwater pool, but check for saltwater compatibility first. Saltwater can corrode parts not designed for it, so verify your cleaner’s components are resistant. Regular cleaner maintenance is essential to prevent salt buildup and corrosion, which could reduce efficiency or cause damage over time. Follow the manufacturer’s guidelines for cleaning and replacing parts to keep your cleaner working smoothly in a saltwater environment.
What Safety Precautions Should I Follow During Installation?
During installation, you should prioritize electrical safety by turning off the power supply before starting. Make certain all electrical connections are waterproof and secure to prevent hazards. Be mindful of water pressure, making sure hoses are properly connected and not kinked to avoid leaks or damage. Follow the manufacturer’s instructions carefully, and use appropriate tools. These precautions help you stay safe and ensure your pool cleaner works effectively.
Will the Cleaner Damage My Pool’S Liner or Surface?
Worried about wear and tear? Your pressure-side pool cleaner is designed to clean without causing costly damage. When properly installed, it won’t harm your pool liner or surface. Just make certain the cleaner’s parts are correctly fitted, and avoid aggressive force. Regularly check for any signs of surface damage or liner wear. With careful handling and proper maintenance, your pool’s surface stays smooth, safe, and superbly clean.
How Do I Troubleshoot if the Cleaner Isn’T Moving Properly?
If your pressure-side pool cleaner isn’t moving properly, start troubleshooting by checking the pressure hose for kinks or blockages that could restrict flow. Listen for unusual motor noise, which might indicate a motor issue or debris jamming the cleaner. Make sure the hose is securely connected and the water pressure is adequate. Regularly inspect the cleaner for debris buildup and clear any obstructions to restore smooth movement.
Conclusion
With a little patience and proper placement, your pressure-side pool cleaner will perform perfectly. Prioritize positioning, secure the hose, and set the flow for flawless filtration. Following these focused steps fosters a fuss-free, functional, and flawlessly clean pool. Keep these simple strategies in mind, and you’ll enjoy a sparkling, spotless swim season without stress or setbacks. With steady setup and smart adjustments, your pool’s pristine condition is just a few focused fixes away.