
To prevent leaks from day one, start by thoroughly evaluating your surface for cracks, holes, and debris, then properly clean and dry it using suitable methods. Repair any imperfections and sand rough spots to create a smooth base. Apply a compatible primer and treatment for strong adhesion. Choose the right waterproofing membrane or coating, confirm proper application, and allow sufficient curing time. Consistent inspection and maintenance will keep your waterproofing effective long-term—continue to learn how all these steps fit together for lasting protection.
Key Takeaways
- Thoroughly clean and dry surfaces to ensure optimal adhesion and prevent future leaks.
- Repair cracks, holes, and surface imperfections before waterproofing application.
- Use compatible primers to enhance bonding and seal gaps effectively.
- Select appropriate waterproofing membranes suited to the environment and substrate.
- Allow proper curing and drying time to achieve maximum waterproofing durability from day one.
Assessing and Preparing the Surface Before Starting

Before you begin surface preparation, it’s essential to thoroughly assess the condition of the area. Check for cracks, holes, or loose material that could compromise waterproofing. Look for signs of moisture, mold, or existing damage, as these indicate underlying issues needing attention. Measure the surface’s texture and cleanliness to determine the best preparation approach. Verify the surface is dry, as moisture can prevent proper adhesion of waterproofing layers. Remove any debris, dirt, or loose particles that could interfere with bonding. Also, evaluate the material type—whether concrete, wood, or other surfaces—since each requires specific prep methods. Conducting this detailed assessment helps you identify potential problems early, ensuring you take the right steps for a solid, long-lasting waterproofing foundation. Additionally, understanding the surface material helps tailor your prep process for optimal results.
Choosing the Right Cleaning Methods and Materials

Selecting the appropriate cleaning methods and materials is essential to guarantee a solid foundation for waterproofing. You need to choose techniques that effectively remove dirt, grease, and loose debris without damaging the surface. Using the wrong methods can leave residues that compromise adhesion and waterproofing integrity. Consider these key points:
Choosing gentle cleaning methods ensures a strong, damage-free waterproofing foundation.
- Use gentle detergents or specialized cleaners for different surfaces to avoid damage.
- Avoid harsh chemicals that can degrade the substrate or leave harmful residues.
- Ensure thorough rinsing and drying to eliminate any leftover contaminants before applying waterproofing materials.
Repairing Surface Imperfections for a Smooth Base
Start by carefully inspecting your surface to identify any cracks, holes, or uneven spots. Use proper techniques to guarantee you spot all imperfections that could affect the final result. Once identified, prepare the surface seamlessly to create a smooth, solid base for waterproofing. Additionally, consider the nutritional balance of your surface materials to ensure optimal adhesion and durability of the waterproofing layer.
Surface Inspection Techniques
Inspecting the surface thoroughly is essential to identify imperfections that could compromise the waterproofing process. You need to carefully examine the entire area for cracks, chips, or uneven spots that might weaken the seal. Use a bright light or mirror to detect hidden flaws and verify nothing is overlooked. Proper inspection helps you pinpoint issues early, preventing leaks later on. Consider these key techniques:
- Visual inspection for obvious cracks or damage
- Using a straightedge or level to check for uneven surfaces
- Applying a water test or moisture meter to detect hidden moisture or porosity
- Recognizing that surface imperfections can also include surface contamination, which must be cleaned before waterproofing.
Seamless Surface Preparation
Achieving a seamless surface requires careful repair of any imperfections that could disrupt the waterproofing layer. Start by identifying cracks, holes, or uneven spots during your surface inspection. Use appropriate patching compounds or fillers to smooth out these imperfections, ensuring they bond well with the substrate. Sand down rough areas to create an even, flat surface. Pay special attention to corners, seams, and junctions, as these are common trouble spots. Clean the surface thoroughly to remove dust, debris, or grease that could prevent proper adhesion. A smooth, uniform base is essential for effective waterproofing, so take your time to address every flaw. Incorporating proper surface preparation techniques can significantly improve adhesion and durability. Proper surface preparation minimizes the risk of leaks and extends the lifespan of your waterproofing system.
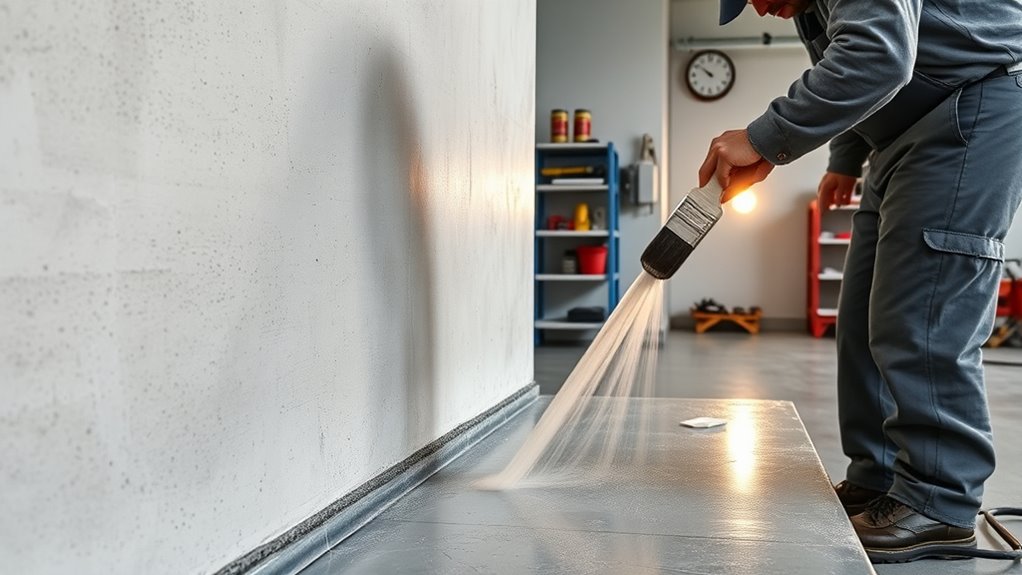
Applying Primer and Surface Treatments for Better Adhesion

Applying primer and surface treatments is essential to guarantee strong adhesion between the substrate and waterproofing materials. Proper application guarantees a durable seal that prevents leaks over time. First, clean the surface thoroughly to remove dirt, oil, or loose debris that could hinder adhesion. Next, select a primer compatible with both the substrate and waterproofing membrane; applying it evenly creates a uniform bonding surface. Finally, follow the manufacturer’s instructions regarding drying times before applying waterproofing layers. Remember, the quality of surface treatments directly impacts waterproofing success. Key points include:
- Ensuring the surface is clean and dry before priming
- Choosing the right primer for your material
- Allowing sufficient drying time for optimal adhesion
- Considering the weight of the waterproofing materials to ensure proper support
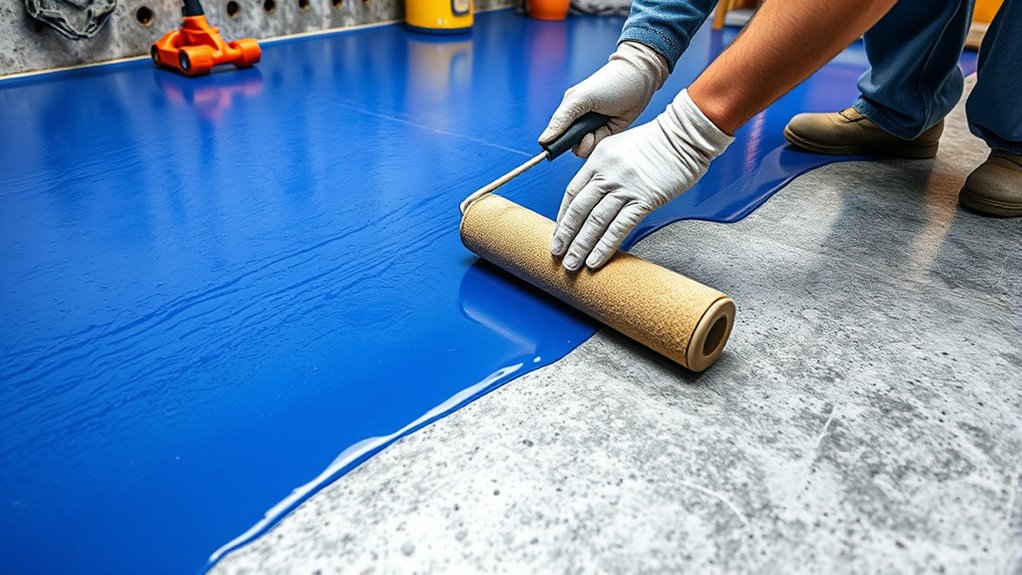
Selecting Appropriate Waterproofing Membranes and Coatings

Choosing the right waterproofing membrane or coating is essential for effective moisture protection, especially since different projects and substrates require specific solutions. You need to think about factors like the environment, substrate type, and expected water exposure. For example, a basement wall needs a durable, flexible membrane, while a balcony may require a quick-drying, UV-resistant coating. Visualize your options:
| Membrane Type | Suitable Substrates | Key Benefits |
|---|---|---|
| Liquid-applied | Concrete, wood | Seamless, adaptable |
| Sheet membranes | Masonry, concrete | Easy to install, reliable |
| Coatings | Metal, existing coatings | Reflective, protective layer |
| Bituminous | Foundation walls | Heavy-duty, waterproof |
| Elastomeric | Roof decks | Flexibility, weather resistance |
Match the product to your project needs for lasting moisture protection. Understanding different membrane types can help ensure you select the most appropriate solution for your specific application.
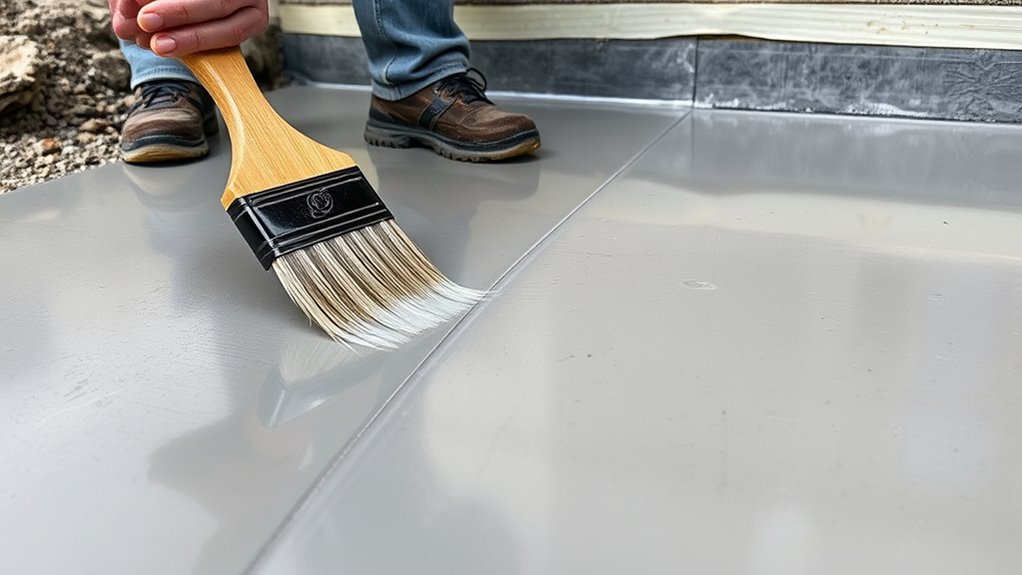
Proper Application Techniques for Waterproofing Materials
To guarantee waterproofing materials perform effectively, you must follow proper application techniques carefully. First, ensure the surface is clean, dry, and free of debris before applying any coating. Use the right tools, such as brushes, rollers, or sprayers, to achieve an even layer. Consistency is key—apply materials in thin, uniform coats, and follow manufacturer’s instructions for thickness and number of coats. Be mindful of seams, corners, and joints, applying extra layers or sealants where needed. To help you stay on track, remember these critical points:
- Prepare the surface thoroughly before application
- Apply in thin, even coats for uniform coverage
- Pay special attention to joints, seams, and edges
Ensuring Adequate Curing and Drying Times
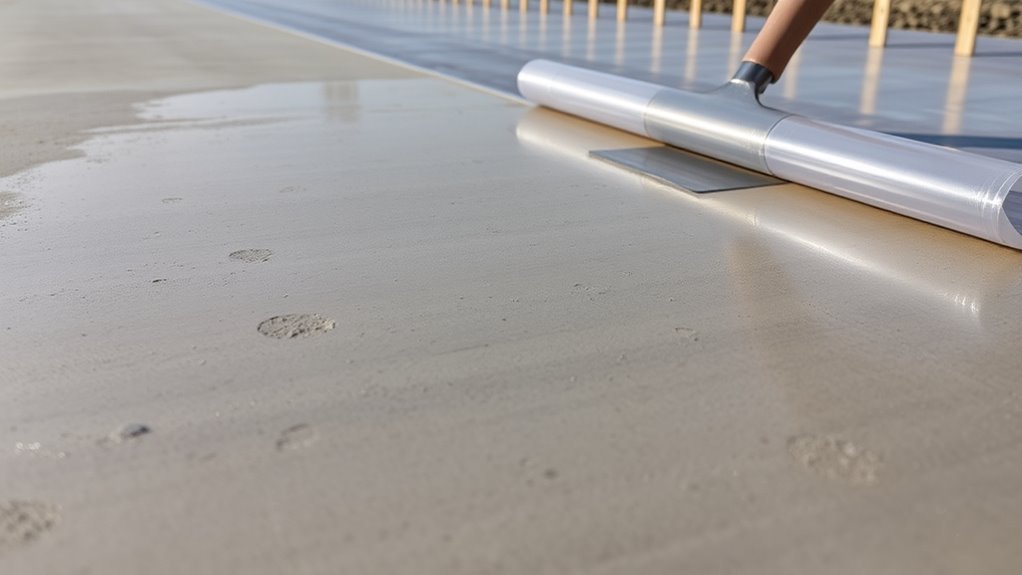
You need to allow sufficient curing time to guarantee the waterproofing material reaches its full strength. Keep an eye on the drying process to prevent premature exposure or damage. Properly monitoring these stages helps you achieve ideal waterproofing results. Additionally, understanding AI’s impact on construction technology can inform smarter project planning and material selection in the future.
Proper Curing Duration
Ensuring proper curing duration is essential for the durability and effectiveness of your surface preparation and waterproofing efforts. If you rush the process, the materials won’t reach their full strength, increasing the risk of leaks and damage. To get it right, follow these key practices:
- Allow sufficient time for the surface to cure before applying waterproofing layers.
- Follow manufacturer recommendations for curing times specific to your materials.
- Check for visual signs of complete curing, such as a firm, non-tacky surface.
- Using vetted products designed for waterproofing can help ensure optimal curing and sealing.
Skipping or shortening curing periods can compromise your waterproofing system, leading to costly repairs later. Patience during this stage guarantees your surface is properly prepared, providing a solid foundation that prevents leaks from day one. Proper curing ultimately enhances the longevity of your waterproofing investment.
Monitoring Drying Progress
How can you be sure your surface has dried and cured properly before moving on? First, check visual cues—look for a uniform, matte finish without shiny spots or damp areas. Touch the surface lightly; it should feel dry and not sticky. Use a moisture meter for an accurate reading; it should show moisture levels within the recommended range for your material. Avoid rushing the process, as premature application of waterproofing products can cause failures. Keep track of environmental conditions like temperature and humidity, since they impact drying times. If you’re unsure, give it extra time to ensure full curing. Properly monitoring drying progress helps prevent leaks and guarantees the longevity of your waterproofing system. Patience now saves headaches later. Incorporating community knowledge and proper tools can enhance your assessment process.
Regular Inspection and Maintenance to Sustain Waterproofing Integrity
Regular inspection and maintenance are essential for preserving the waterproofing system’s effectiveness over time. By routinely checking for damage, cracks, or wear, you can catch issues early before they lead to leaks. Consistent upkeep helps extend the lifespan of your waterproofing and ensures ongoing protection. During inspections, look for:
- Cracks or gaps in the waterproof membrane
- Signs of water infiltration or pooling
- Damaged or missing sealants and coatings
Address problems promptly by repairing or resealing affected areas. Clean surfaces regularly to prevent debris buildup that can compromise the seal. Maintaining your waterproofing system is an ongoing process that saves you money and headaches down the line, keeping your space dry and protected year after year. Proper surface preparation is key to ensuring long-lasting waterproofing performance.
Frequently Asked Questions
How Long Should I Wait Before Exposing a Newly Waterproofed Surface to Water?
You should wait at least 24 to 48 hours before exposing your newly waterproofed surface to water. This allows the waterproofing material to fully cure and adhere properly, ensuring maximum effectiveness. Keep the surface dry during this period, and avoid rain or water exposure. If you’re unsure, check the product’s instructions for specific curing times, as some waterproofing compounds may require longer drying periods for ideal protection.
Can Waterproofing Membranes Be Applied Over Existing Paint or Coatings?
Think of waterproofing membranes as the armor your structure needs. You can apply them over existing paint or coatings, but only if those surfaces are clean, dry, and free of peeling. Like a fresh coat of paint on a smooth wall, the membrane bonds best when there’s a solid, even surface. If your current coating is cracked or flaking, prep it thoroughly for a seamless, long-lasting shield.
What Are Common Mistakes to Avoid During Surface Preparation?
You should avoid skipping thorough cleaning, as dirt and debris can prevent proper adhesion. Don’t neglect to remove old paint or loose coatings, which can cause bubbling or peeling later. Make certain you repair cracks or damages before applying any waterproofing. Rushing the preparation process or using the wrong tools can compromise the job. Take your time, follow manufacturer instructions, and check for moisture or contaminants to ensure a lasting seal.
How Do Temperature and Humidity Affect Waterproofing Application?
Temperature and humidity markedly impact your waterproofing application. If it’s too cold, the material may not cure properly, leading to weak spots. Excessive heat can cause rapid drying, resulting in cracks. High humidity slows down curing and can trap moisture, compromising adhesion. You should apply waterproofing in moderate temperatures and low humidity for best results, ensuring the surface is dry and conditions are stable to prevent future leaks.
Is It Necessary to Use Professional Tools for Waterproofing Installation?
You don’t necessarily need professional tools for waterproofing, but using them guarantees better results. While DIY tools can be sufficient for small projects, specialized equipment helps achieve a more uniform, durable application and reduces the risk of leaks. If you’re serious about preventing future problems, investing in or renting professional-grade tools makes the job easier, faster, and more reliable. Don’t compromise quality—use the right tools to protect your property effectively.
Conclusion
By properly preparing and waterproofing your surface, you prevent leaks before they start—like building a fortress against the elements. Skipping steps might leave cracks and vulnerabilities, turning your sturdy foundation into a fragile barrier. When you follow each step carefully, you create a seamless shield, sturdy and resilient. Think of your effort as laying a solid, waterproof armor—strong enough to withstand the harshest weather, keeping your space safe and dry for years to come.