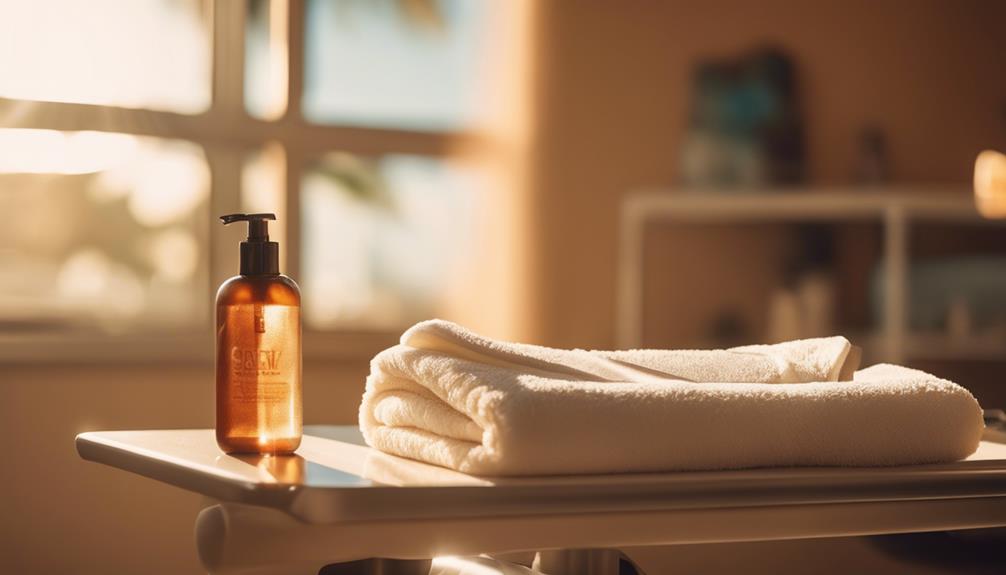

To achieve a streak-free tan at home, start by exfoliating your skin thoroughly a day before to create a smooth surface. Moisturize dry areas like elbows and knees to prevent unevenness, and choose the right self-tanner for your skin type. Use a tanning mitt for even application, apply in thin layers, and let it dry completely before dressing. Proper post-tan care and maintenance help preserve your glow—discover how to master each step for flawless results.
Key Takeaways
- Exfoliate thoroughly 24 hours before tanning to remove dead skin and create a smooth, even surface.
- Moisturize dry areas like elbows and knees before application to prevent patchiness.
- Use a high-quality tanning mitt for even, streak-free application in circular motions.
- Apply thin, layered coats and wait until each layer dries completely before adding more.
- Maintain hydration and moisturize regularly after tanning to extend and even out your tan.
Prepare Your Skin Properly Before Tanning
To achieve a streak-free tan at home, properly preparing your skin is essential. Start by showering at least a day before your tan to remove dirt, oils, and makeup residues that can hinder even absorption. Use a gentle body wash from a recommended skincare collection to cleanse without stripping moisture. Avoid applying deodorants, perfumes, or sprays before tanning to keep your skin clean and product-free. Make sure to thoroughly remove all makeup, especially when using tanning beds, to prevent unnatural color patches. Giving your skin this thorough cleanse creates a smooth, clean surface that helps your tan apply evenly and prevents streaks or patchiness. Additionally, using self watering plant pots as a metaphor for maintaining consistent moisture can serve as a reminder to keep your skin properly hydrated, which is key for an even tan. Regularly exfoliating dead skin cells can also enhance the smoothness and evenness of your tan. Incorporating smart technology into your skincare routine—such as apps or devices that monitor skin health—can help identify areas that need extra care before tanning. Staying informed about emergency preparedness essentials and understanding how to protect your skin in different conditions can further optimize your tanning results and overall skin health. Proper skin preparation sets the foundation for a flawless, natural-looking glow.
Exfoliate for a Smooth Canvas
Exfoliating your skin creates a smooth, even surface that’s essential for a flawless tan. By removing dead skin cells, you reveal fresher, healthier skin underneath, which helps your tan look even and natural. Regular exfoliation, about once or twice a week, prevents patches and streaks by ensuring tanning products spread uniformly. Use gentle tools like scrubs, brushes, or chemical exfoliants such as AHAs or PHAs, depending on your skin type. Focus on rougher areas like elbows and knees for better results. Remember to exfoliate at least 24 hours before tanning to allow your skin to recover and minimize irritation. Incorporating proper skin preparation techniques can further enhance your tanning results. To maintain a smooth and even tan, continue exfoliating regularly to prevent buildup of dead skin and uneven color. Utilizing the right exfoliation methods can also help you achieve a more consistent and longer-lasting tan. Developing a creative practice routine, even for skincare, can make your routine more enjoyable and effective. Additionally, choosing high-quality tools designed for exfoliation can improve the effectiveness and comfort of your routine.
Moisturize Dry Areas to Prevent Patchiness

Moisturizing dry areas before applying self-tanner is essential for achieving an even, natural-looking tan. Dry patches like elbows, knees, and ankles absorb product unevenly, leading to patchiness. Applying a light layer of oil-free moisturizer on these areas creates a smooth, hydrated base that prevents the tanner from settling excessively in rough patches. For best results, moisturize at least an hour before tanning to allow full absorption, and avoid applying moisturizer immediately before, which can cause streaks. Use a gentle, hydrating moisturizer with ingredients like hyaluronic acid or aloe vera, and ensure your skin is clean and dry. Target dry spots with extra care, and re-moisturize after tanning to maintain an even, streak-free finish. Incorporating skincare routines that include exfoliation can also help create a more uniform surface for tanning.
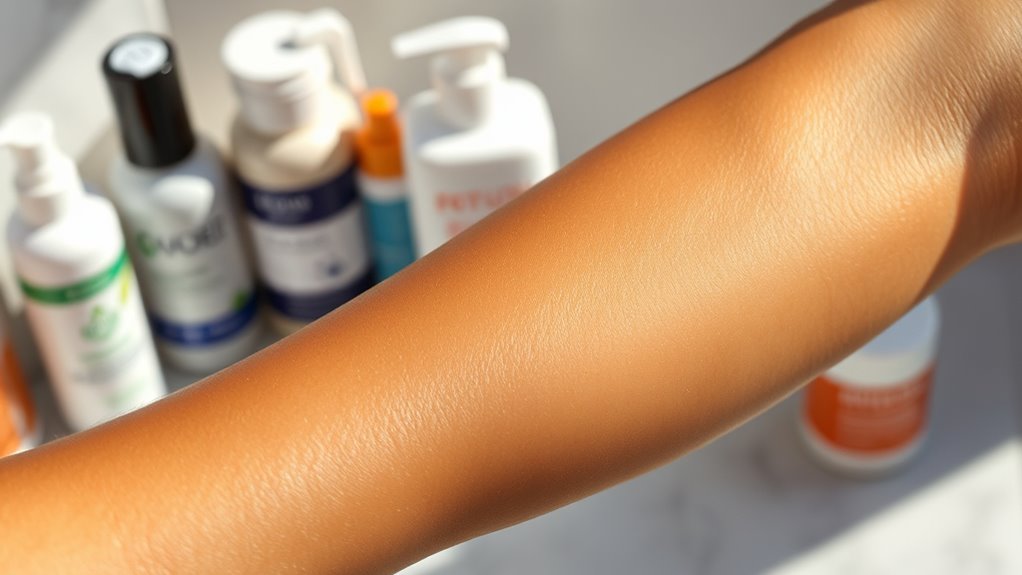
Choose the Right Self-Tanner for Your Skin

Choosing the right self-tanner depends on your skin type and personal preferences. If you have oily skin, foam self-tanners are ideal because they dry quickly, feel lightweight, and give a long-lasting, even tan. For dry skin, creams or lotions provide added moisture while tanning, making application smoother. Sensitive skin types benefit from gentle options like Tan-Luxe Drops, which are customizable and less likely to cause irritation. Beginners may prefer mousse self-tanners for their easy, fast application, while those wanting more control can opt for serums or gradual self-tanners to build a natural-looking glow over time. Mist and spray formulas can help reach tricky spots but require careful application. Additionally, understanding your tire pressure can ensure your bike performs optimally, especially when using gravel bikes that are perfect for outdoor adventures. Tailoring your choice ensures a streak-free, radiant tan that complements your skin type perfectly, and considering glycolic acid products can improve your skin’s texture and glow, enhancing your overall tanning results. Incorporating best anime movies into your self-care routine can also provide relaxing entertainment and inspiration for your skincare journey. Moreover, exploring entertainment park hours can help you plan relaxing breaks and enjoyable activities to complement your skincare regimen. Staying informed about skincare ingredients can further optimize your tanning results and skin health.
Use a Tanning Mitt for Even Application

Using a tanning mitt is one of the best ways to achieve a streak-free, even tan at home. It helps distribute self-tanner smoothly across your skin, preventing unwanted lines and patches. The larger surface area of the mitt speeds up application and ensures consistent coverage, especially on hard-to-reach areas like your back. Made from plush microfiber, it’s designed to glide easily, giving you a natural-looking finish. The mitt also protects your hands from staining, keeping the process clean. With easy-grip technology, you can control the pressure and direction, blending the product seamlessly. Remember to wash your mitt after each use to maintain hygiene and prevent product buildup. A good tanning mitt makes self-tanning quicker, cleaner, and more professional-looking. Utilizing a hackathon platform can inspire innovative tools for at-home tanning routines.
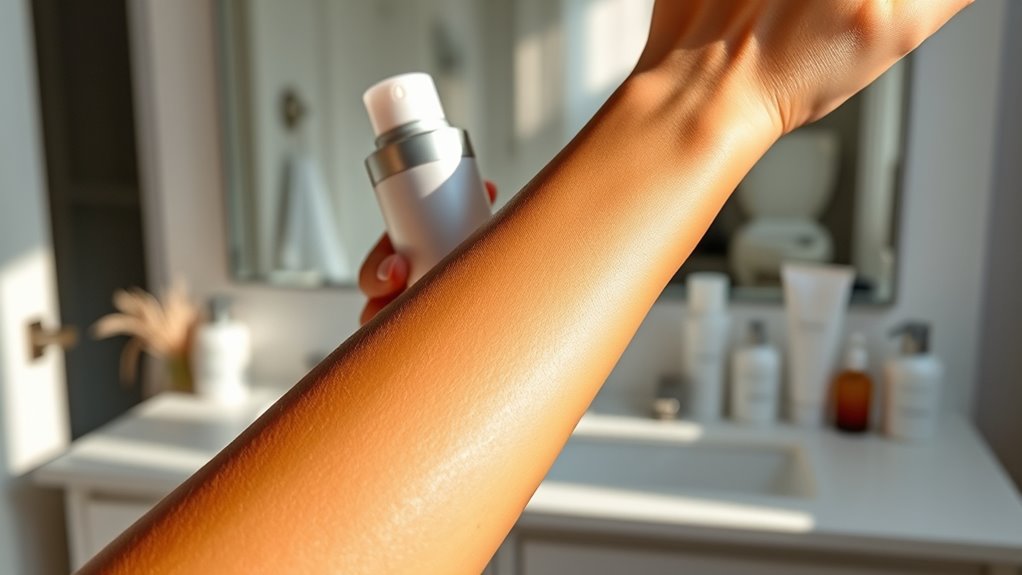
Apply Thin, Even Layers for a Natural Look

To achieve a natural-looking tan, applying your self-tanner in thin, even layers is essential. Start by using a mitt and applying the product in circular motions to guarantee smooth coverage. Begin with your legs and work your way upward, which helps with control and prevents streaks. Be mindful to use less product on delicate areas like hands and feet to avoid over-darkening. It’s important to layer gradually—don’t try to build the color all at once—this prevents uneven patches and blotchiness. Focus on blending thoroughly to create a seamless finish. If needed, go over any areas with a light second coat after the first layer dries. Consistently applying thin layers assures a more natural, streak-free tan that looks even and flawless. Additionally, selecting appropriate self-tanning products formulated for your skin type can help achieve a more uniform and natural result. Using proper application tools also ensures a smoother, more professional-looking finish. Incorporating techniques for even application can further enhance your overall tanning results. Remember that skin preparation, such as exfoliating beforehand, can significantly improve the final appearance of your tan. Moreover, understanding the science behind sound healing can inspire relaxation during your tanning routine, making the experience more enjoyable.
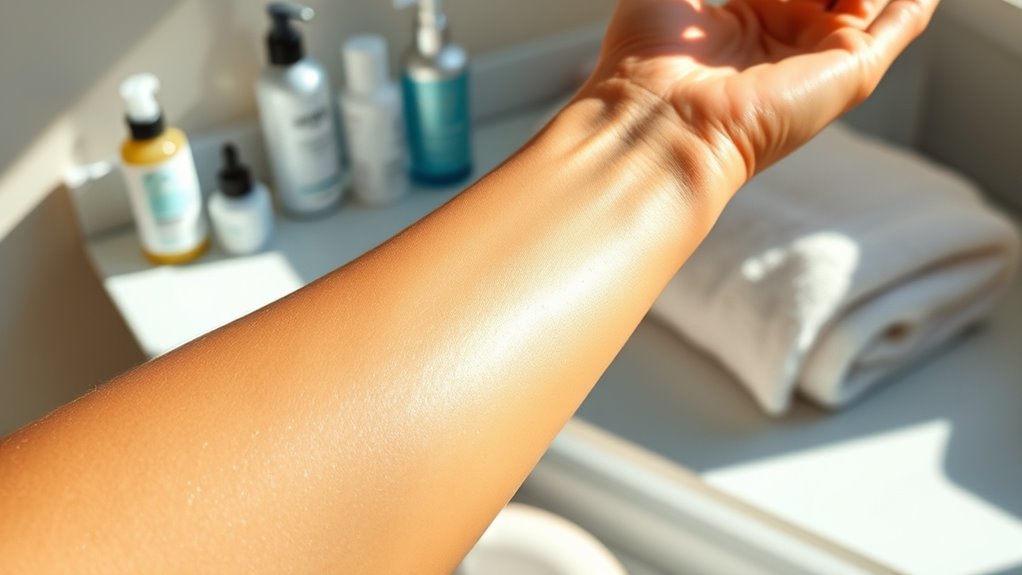
Allow Sufficient Drying Time Before Dressing

Allowing your self-tanner sufficient time to dry is essential for achieving a flawless, streak-free finish. When you give the product time to dry completely, it prevents streaks, smudges, and unwanted transfers onto clothing or surfaces. Most self-tanners require about 15 minutes to dry fully, but this can vary based on the product, skin type, and environmental conditions. Rushing the process risks uneven color development and staining your clothes. For best results, apply thin, even layers and wait in a well-ventilated area until the product feels dry to the touch. Wearing loose, dark clothing during this time helps avoid smudging and staining. Patience during the drying phase ensures your tan develops smoothly and looks natural. Additionally, choosing clothing materials that allow your skin to breathe can help the tan set properly and last longer. Being mindful of the environmental humidity can also influence drying time, making it important to consider climate conditions for optimal results. Recognizing angel number signs related to love and patience can also encourage a relaxed attitude during this process.
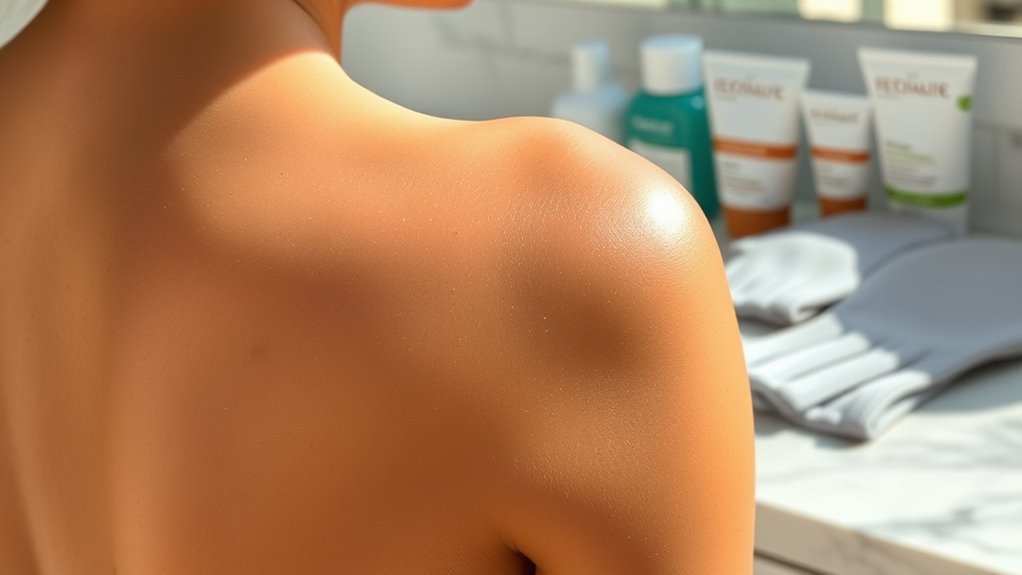
Post-Tanning Care to Prolong Your Glow
After your self-tanner has dried completely, caring for your skin properly can considerably extend your glow. Moisturize immediately to soothe dry areas and lock in hydration. Choose moisturizers rich in antioxidants, aloe vera, hyaluronic acid, or shea butter, and apply twice daily, focusing on elbows, knees, and ankles. Gentle exfoliation with soft brushes or cloths helps maintain an even tan and reveals a smoother surface—just avoid exfoliating before tanning. After tanning, apply aloe vera gel or cool compresses to soothe heat and inflammation, steering clear of alcohol-based products. Wear loose clothing to prevent irritation and avoid activities that cause excessive sweating. Using sunscreen outdoors and staying hydrated further protect and prolong your tan. Regularly using tan extenders with vitamins A, C, and E keeps your skin nourished and your glow lasting longer.
Fix Streaks and Uneven Patches Effectively

When you notice streaks or uneven patches after your self-tanning session, addressing them promptly can restore a flawless glow. Start by applying a natural remedy like a lemon and baking soda paste to small patchy areas. Let it sit for a few minutes, then rinse thoroughly—this helps lighten excess pigment and exfoliates dead skin cells. For larger patches, gently exfoliate with a body scrub or a tanning-specific exfoliator, focusing on darker areas to even out color. Buff dry, rough spots like elbows and knees with a soft mitt to remove excess tan buildup. Always use a tanning mitt for application to avoid streaks and ensure smooth blending. Combining these techniques helps you correct uneven patches effectively, creating a more uniform, streak-free tan.
Maintain Your Tan With Proper Hydration
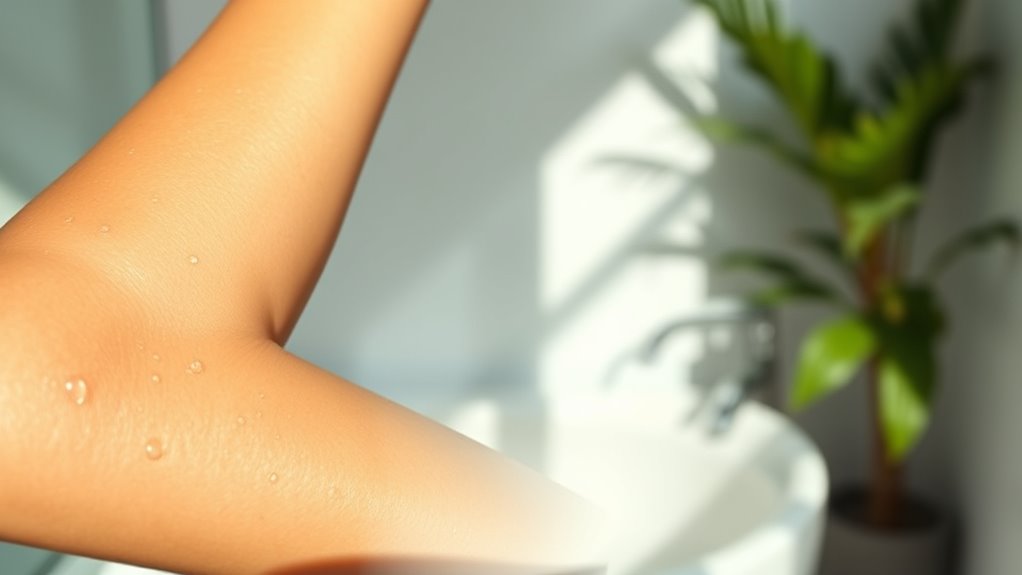
Maintaining your tan at home hinges on proper hydration, which plays a vital role in preserving its vibrancy and evenness. When your skin stays hydrated, it prevents peeling, helping your tan last longer and look more uniform. Well-hydrated skin retains moisture, supporting a healthy skin barrier that enhances color retention and prevents patchiness. Regularly applying a hydrating moisturizer keeps your skin smooth and resilient, reducing irritation and uneven fading. Drinking plenty of water internally also boosts your skin’s hydration from the inside out. Avoid harsh skincare products that can strip moisture, and stick to gentle, nourishing options. Consistent hydration ensures your skin remains supple, promoting a more vibrant, even tan and helping you enjoy your glow for longer.
Frequently Asked Questions
Can I Tan if I Have Sensitive Skin or Allergies?
Yes, you can tan if you have sensitive skin or allergies, but you need to choose the right products. Look for hypoallergenic, fragrance-free, and natural options designed specifically for sensitive skin. Always do a patch test first to check for reactions. Keep your skin moisturized and avoid common irritants like fragrances and alcohol. With careful selection and proper prep, you can safely achieve a tan without irritation.
How Do I Prevent Streaks When Applying Self-Tanner to My Back?
To prevent streaks when applying self-tanner to your back, use a long-handled applicator or mitt for even coverage. Apply the product in circular motions, working quickly and with consistent pressure. Check your work with a mirror or ask for help to catch missed spots. Make sure your skin is dry, exfoliated, and moisturized beforehand. Afterward, avoid moisture and friction to keep your tan smooth and streak-free.
What Should I Do if I Accidentally Over-Apply in One Area?
When you find yourself in a spot where you’ve over-applied, don’t panic—you can fix it. Gently blot the excess with a soft mitt or flannel, lifting off the extra product without rubbing harshly. You might also try exfoliating just the overdone area with a gentle scrub or a lemon-baking soda paste to fade the streaks naturally. Keep moisturized afterward to soothe your skin and help the tan blend seamlessly.
How Long Should I Wait Before Showering After Tanning?
You should wait at least 2 to 3 hours before showering after tanning to let your skin develop the full color. If you’ve used a spray tan with bronzers, wait 8 to 10 hours for the best results. This pause allows the tanning products to set properly, ensuring a deeper, longer-lasting tan. Rushing your shower can wash away active ingredients and diminish your tan’s intensity.
Are There Natural Alternatives to Chemical Self-Tanners?
Yes, there are natural alternatives to chemical self-tanners. You can choose products made from natural DHA derived from sugar cane or sugar beet, which provide a more authentic, even tan. Look for brands that incorporate botanical ingredients like aloe vera, jojoba, or shea butter for hydration and smooth application. These options are free from synthetic dyes and preservatives, making them safer, gentle on your skin, and ideal for a natural, streak-free glow.
Conclusion
Remember, achieving a streak-free tan at home takes patience and preparation. Follow these tips consistently, and you’ll enjoy a smooth, even glow that boosts your confidence. Don’t rush the process—wait for each layer to dry, and take your time with application. As the saying goes, “A stitch in time saves nine.” By caring for your skin and being meticulous, you’ll maintain that gorgeous, flawless tan longer and more beautifully.