To get started with self-tanning, prepare your skin by exfoliating a day before to remove dead cells and applying moisturizer to dry areas. Choose a product suited to your skill level and skin tone, like mousses or drops, and use a mitt to blend evenly in circular motions. After application, wait for it to dry and avoid water for several hours. For tips on perfecting your glow and maintaining it, keep exploring these expert steps.
Key Takeaways
- Exfoliate and moisturize skin 24 hours before tanning for a smooth, even application.
- Choose the right product (mousse, drops, gradual tanner) based on your skill level and desired results.
- Apply self-tanner in sections using a mitt or gloves, blending well to prevent streaks.
- Wait at least 4 hours before dressing and avoid water or sweating to allow the tan to set.
- Moisturize daily post-tan to extend its longevity and maintain an even, natural-looking glow.
Preparing Your Skin for a Flawless Tan
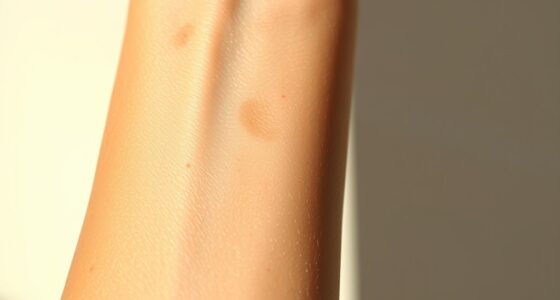
To achieve a flawless self-tan, proper preparation of your skin is essential. Start by exfoliating 24 hours before tanning to remove dead skin cells and create a smooth surface. Use gentle scrubs or gloves to prevent irritation, focusing on areas like elbows, knees, and heels that tend to darken more easily. Proper exfoliation helps avoid patches and uneven color, ensuring a longer-lasting, even tan. After exfoliating, moisturize dry areas such as elbows and knees to hydrate the skin and prevent patchiness. Also, cleanse your skin thoroughly and remove any hair via shaving or waxing beforehand. This step guarantees a clean, smooth surface for an even application. Avoid oily or perfumed products before tanning, as they can interfere with the tan’s adherence and result in uneven coloring. Incorporating moisture retention techniques can further enhance the longevity and appearance of your tan. Additionally, using self water retention methods can help keep your skin hydrated and improve tan durability. Maintaining proper hydration, a healthy lifestyle, and consistent skincare can also contribute to a more even and natural-looking tan. Staying consistent with your skincare routine supports skin health, which is crucial for achieving an even, radiant glow. Implementing AI-driven personalization in skincare can help tailor your skincare routine to your specific needs, optimizing results.
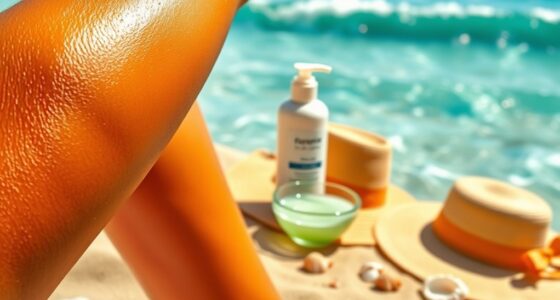
Choosing the Perfect Self-Tanning Product for You

Choosing the right self-tanning product depends on your skin type, desired results, and lifestyle. If you want quick, easy application, mousse or foam tanners are great—they dry fast and give a natural look. For customizable color, drops mixed with your moisturizer let you control the darkness and build gradually. Water mists and sprays work well for a lightweight, even facial tan, while lotions and butters add hydration but may take longer to develop. Consider brands like Coco & Eve for fast-drying foam or Isle of Paradise for versatile drops. If longevity matters, opt for formulas lasting 4-7 days, but keep in mind some products, like Tan-Luxe drops, might fade sooner. Budget-friendly options are available, but high-end brands often offer more customization and faster results. Exploring self-tanning products that suit your specific skin type can help achieve the most natural and satisfying glow. Additionally, choosing products with Vetted benefits, such as those designed for specific skin needs, can enhance your overall tanning experience and results. Incorporating proper application techniques can also significantly improve your tanning outcomes and prevent streaks.
How to Properly Moisturize Before Applying Self-Tanner
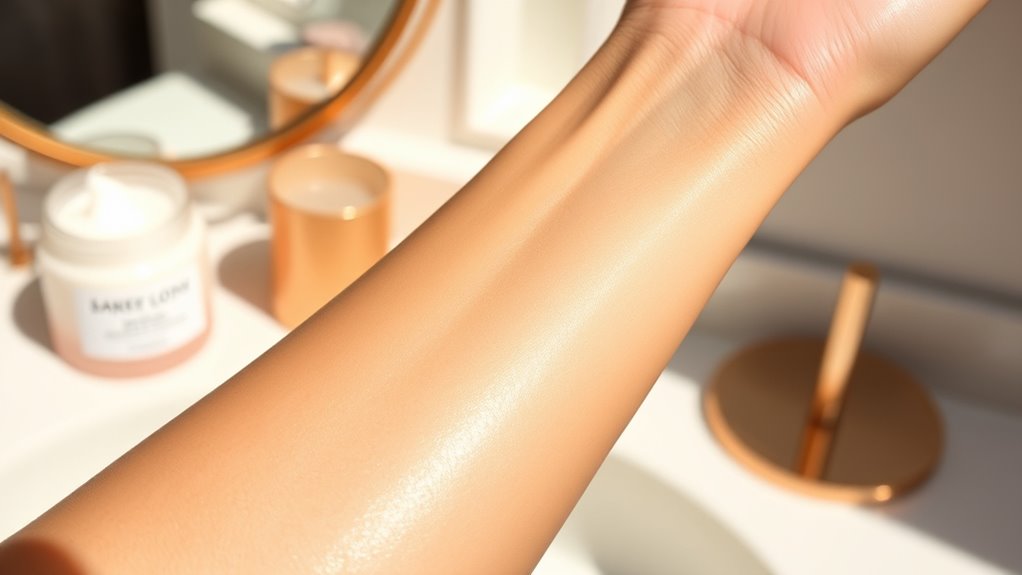
Preparing your skin properly is essential for a flawless self-tan, and moisturizing plays a key role in this process. Regularly hydrating your skin in the week before tanning helps create a smooth, even base. Apply moisturizer 2-3 hours prior to self-tanning to allow full absorption and prevent interference with the product. Avoid moisturizing immediately before application, as this can lead to patchiness or uneven color. Focus on dry, thick areas like elbows, knees, ankles, feet, and hands—these spots tend to absorb more tanner and darken unevenly. Use a rich or targeted moisturizer on rough patches, and opt for lightweight, oil-free formulas to avoid blocking tan development. Consistent hydration, combined with exfoliation, ensures your skin is prepared for a natural, radiant glow. Proper skin preparation and adherence to these tips will help prevent streaks and uneven fading, especially by maintaining moisture balance for optimal absorption. Additionally, maintaining good skin health can enhance the longevity and appearance of your tan. Incorporating hydration strategies such as drinking plenty of water can further support your skin’s readiness for tanning. Staying well-hydrated helps maintain skin elasticity, which contributes to an even and long-lasting tan.
Step-by-Step Guide to Applying Self-Tanner Like a Pro
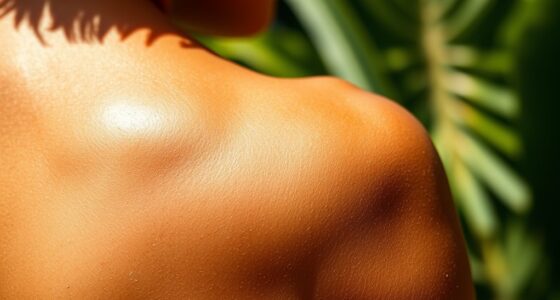
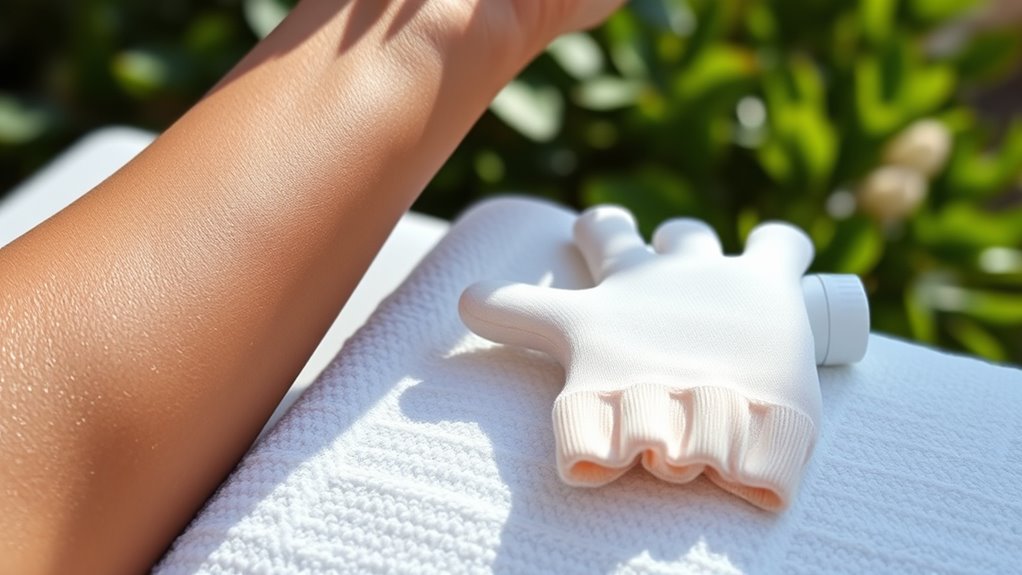
Applying self-tanner like a pro starts with proper preparation and technique. Begin by exfoliating to remove dead skin cells, ensuring an even, longer-lasting tan. Shave beforehand to prevent uneven fading. Choose a cool, dry environment to avoid sweating during application. Wear gloves or a tanning mitt to protect your hands from staining. Focus on smooth, clean skin, and apply self-tanner in sections for even coverage. Use a light hand on hands and feet, blending well and applying moisturizer to elbows and heels to prevent over-darkening. For your face, opt for a face-specific formula and apply gently. Carefully blend around joints, wrists, and ankles for a seamless look. Waiting at least 20 minutes before dressing is recommended, and avoiding showering for 12 hours helps set the tan. Proper skin preparation can also enhance the longevity and appearance of your self-tan. Additionally, understanding industry transformations can inspire innovative techniques and products for a more professional-looking result. To achieve optimal results, consider advanced application tools that can help you apply self-tanner more evenly and efficiently. Using proper climate conditions can also impact the development and longevity of your tan. Staying informed about tax law changes can also impact your overall financial planning.
Post-Tanning Care Tips to Extend Your Glow
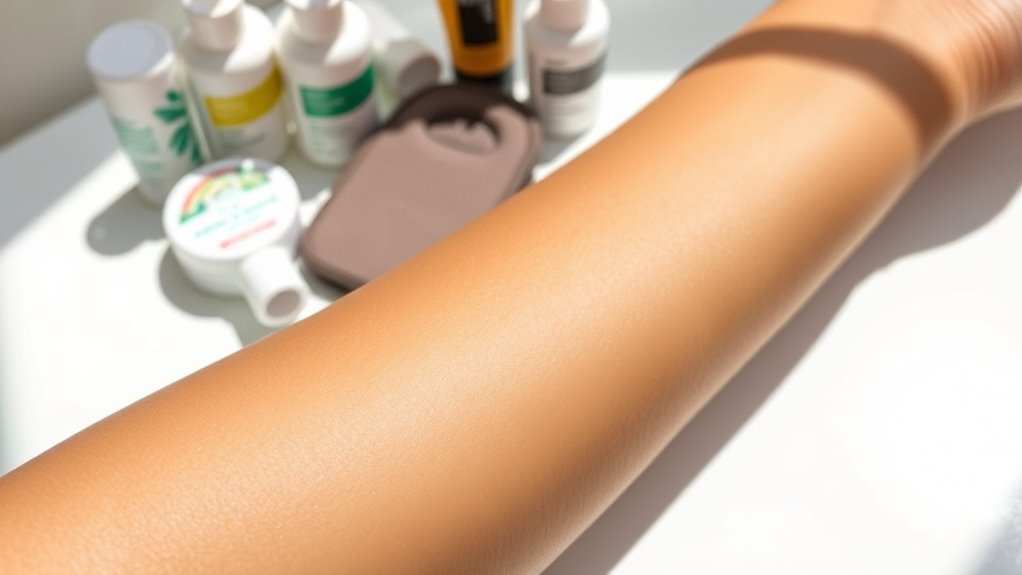
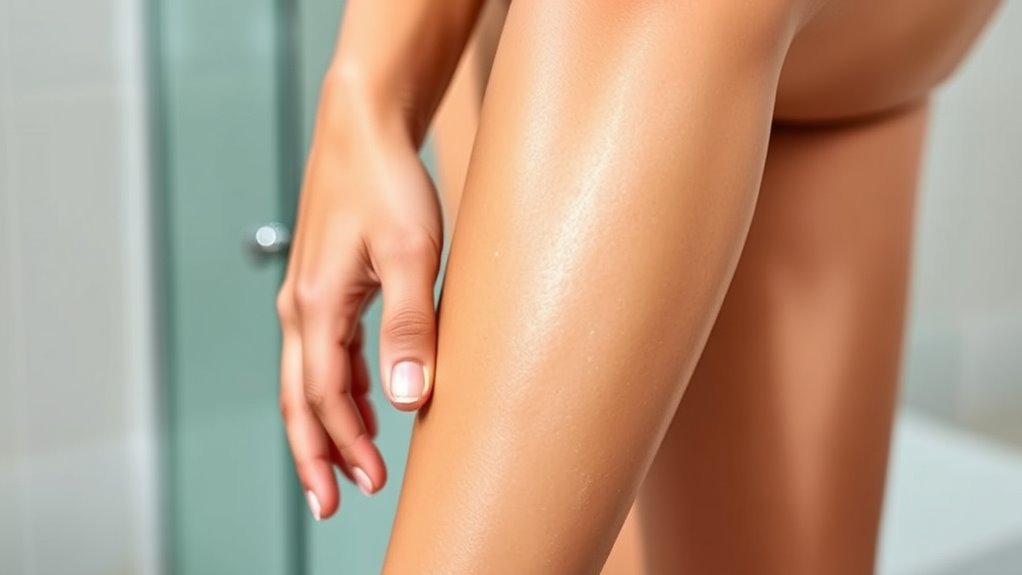
To keep your tan looking fresh and vibrant for as long as possible, proper post-tanning care is essential. Start by moisturizing daily with an oil-free, fragrance-free lotion like CeraVe or Lubriderm to maintain skin hydration and promote an even fade. Wait at least four hours after your spray tan before applying moisturizer. Hydrated skin helps your tan last longer. During your first shower, use lukewarm or cold water, and avoid scrubbing, loofahs, or harsh soaps—pat your skin dry gently. Wear loose, dark clothing and avoid tight or irritating outfits, especially during the first few days. Minimize activities that cause excessive sweating, and limit water exposure from pools or hot tubs. Always protect your skin with sunscreen to prevent fading from UV rays. Ensuring your skin is clean and free of oils can also enhance the longevity of your tan by maintaining optimal skin health. Using suitable skincare products can help support your skin’s barrier and extend your glow. Additionally, using AI-powered tools can help track your skincare routine and optimize your post-tanning care for better results. Incorporating protective styling techniques, such as wearing loose clothing and avoiding friction, further prolongs your tan’s appearance.
Achieving a Natural Look: Expert Tips and Tricks
Achieving a natural-looking tan starts with selecting the right products and applying them thoughtfully. Choose formulas suited to your skill level—mousses for easy blending, drops for customization—and opt for green- or violet-based tanners to neutralize orange undertones. Gradual tanners are ideal for beginners since they build color slowly. Always patch-test new products to avoid surprises. Before applying, exfoliate 24 hours ahead to create a smooth canvas, and shave or wax to prevent patchiness. Use a damp mitt and apply in circular motions, starting with your legs and moving upward to prevent creasing. On joints, blend outward and use a brush for tricky areas like feet. Finally, air-dry completely, wear loose dark clothing, and avoid water for several hours to ensure a natural, streak-free glow. Incorporating skin preparation techniques can further enhance the longevity and appearance of your tan.
Frequently Asked Questions
How Long Does It Take for Self-Tanner to Develop Fully?
You’re probably wondering how long it takes for self-tanner to fully develop. Typically, it needs about 6 to 8 hours for the color to reach its peak. During this time, the DHA reacts with your skin, gradually darkening. To get the best results, avoid showering or sweating heavily during this period. Patience is key, as rushing might lead to uneven or streaky tan.
Can I Mix Different Self-Tanning Products for a Custom Shade?
You can mix different self-tanning products to create a custom shade, but you need to be careful. Always choose compatible formulas from the same brand to prevent reactions or separation. Mix products thoroughly with a palette knife or mixer for even color. Start with small amounts and record your ratios for consistency. Using undertone-specific additives like violet or green can help neutralize unwanted hues and achieve your perfect glow.
Is It Safe to Use Self-Tanner on Sensitive or Broken Skin?
They say, “A stitch in time saves nine,” so it’s wise to consider safety first. You shouldn’t use self-tanner on broken or irritated skin, as it can worsen irritation or cause infection. On sensitive skin, patch test first and opt for gentle, hypoallergenic products. Always moisturize beforehand, and avoid applying on cuts or broken areas to prevent complications and ensure a safe, even tan.
How Often Should I Reapply Self-Tanner to Maintain the Tan?
You should reapply your self-tanner about every 7 days to keep your tan looking fresh. If you’re using gradual lotions, reapply daily until you reach your desired shade, then switch to every 3-5 days. Factors like skin exfoliation, hydration, and activity level influence how long your tan lasts. To maintain a consistent look, make certain your skin is clean, exfoliated, and moisturized before reapplying.
Can Self-Tanner Stain Clothing or Bedding?
Ever wonder if your new glow could turn against you? Yes, self-tanner can stain clothing and bedding, especially if it’s still wet or not fully dry. Oils and dyes seep into fabrics, leaving stubborn marks. To avoid disasters, let it dry completely, wear loose dark clothes, and use protective covers. Quick action with cold water and proper stain removal techniques can save your favorite sheets and clothes from unwanted tans.
Conclusion
Now that you’ve mastered the art of self-tanning, you’re all set to beautifully boost your glow with confidence. Remember, preparation and patience pave the path to perfection. With a little practice, your flawless, natural-looking tan will become your new norm. So step into self-tanning with a smile, stay savvy with skincare, and shine with a stunning, sun-kissed splash of sophistication. Your glowing, glamorous journey begins now—go glow confidently!