
To fix uneven sheet edges, start by checking that your material is loaded and aligned correctly—centered and flush against guides. Inspect rollers and guides for wear, dust, or debris, and clean or replace them as needed. Make certain your equipment is properly calibrated and tensioned, and keep sheets flat and in a stable environment to prevent warping. Address jams immediately and adjust clamps securely. Continuing with these tips will help you achieve consistent, clean edges.
Key Takeaways
- Ensure sheets are loaded correctly, aligned properly, and free of wrinkles before feeding.
- Regularly inspect and clean rollers, guides, and sensors to prevent debris buildup and wear.
- Check and adjust clamping mechanisms to secure sheets firmly and maintain proper positioning.
- Verify equipment calibration and alignment, performing routine maintenance and calibration tests.
- Store sheets flat in controlled environments to prevent warping and handle materials carefully to avoid deformation.

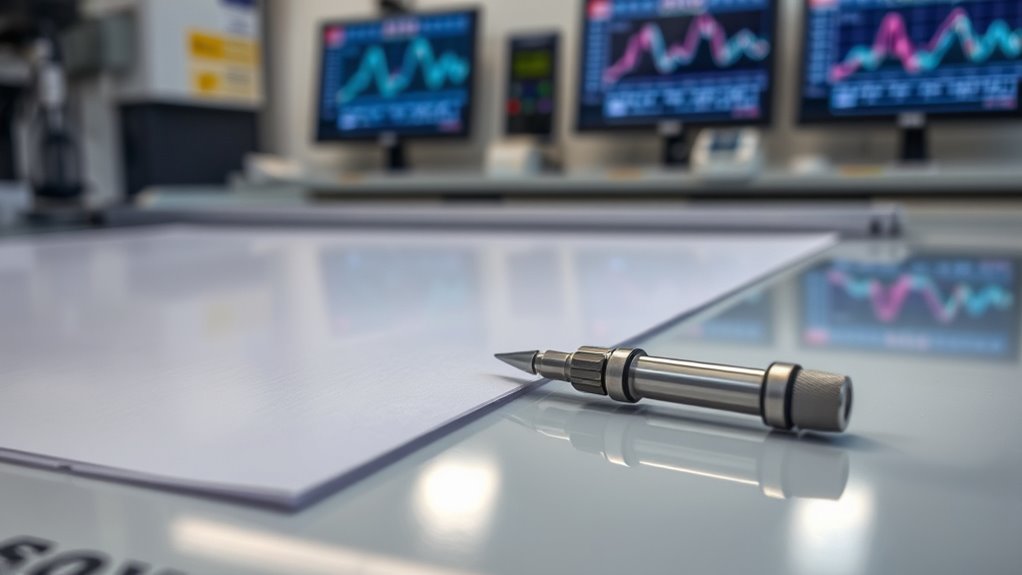
TEKTON 3/16 Inch Alignment Punch | 66175 | Made in USA
- Self-centering nose: Aligns holes for accurate assembly
- High carbon steel construction: Durable and premium material
- Precise machining: Meets exacting tolerances
As an affiliate, we earn on qualifying purchases.
As an affiliate, we earn on qualifying purchases.
Identifying the Root Causes of Uneven Edges
Uneven edges often indicate underlying issues that need pinpointing before you can fix them effectively. First, check if the paper or material is loaded correctly in the feeder. Misaligned or skewed materials tend to cause uneven edges. Next, examine the rollers and guides—dust, debris, or worn parts can lead to inconsistent feeding. Also, look for any damage or warping in the feed path, as this can pull or shift the material unexpectedly. Confirm that the tension settings are appropriate; too tight or too loose can affect how smoothly the sheet moves through the machine. Additionally, suspension upgrades in vehicles are crucial for maintaining proper handling, much like ensuring the feed path is aligned correctly. Finally, consider environmental factors like humidity, which can cause materials to warp or expand, resulting in uneven edges. Identifying these root causes helps you target the actual problem rather than just treating the symptoms.
Checking and Adjusting Material Alignment

Start by verifying that your material is positioned correctly on the work surface to prevent misalignment. Use proper alignment tools to guarantee everything lines up accurately before cutting. If needed, adjust the clamping mechanisms to hold the material securely and maintain consistent positioning throughout the process. Additionally, considering the contrast ratio of your projector can help ensure the projected image maintains clarity and depth even when adjustments are made.
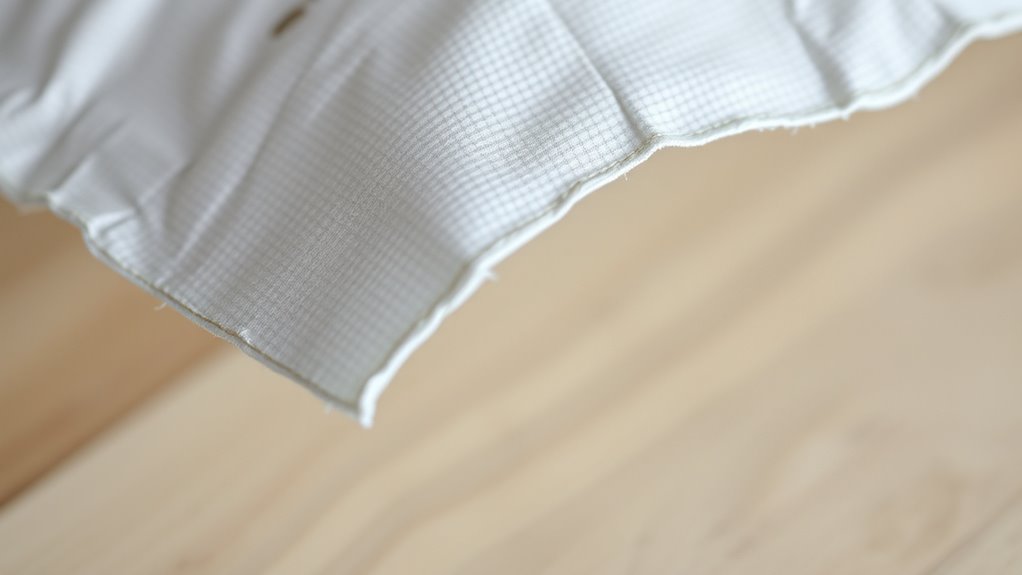
Verify Material Position
To guarantee your material is properly aligned, you need to verify its position before proceeding. Begin by examining the sheet’s placement on the work surface or feed area. Ensure it’s centered and straight, with edges flush against guides or fences. Check for any skewing or uneven gaps along the edges, which can cause miscuts or uneven edges. If the material isn’t aligned, gently adjust its position by repositioning or nudging it until it sits evenly. Confirm that the sheet is flat and free of wrinkles or folds that could lead to shifting during operation. Properly verifying and adjusting the material’s position now prevents issues later, ensuring a clean cut and smooth edge without the need for rework. Additionally, ensuring the material’s alignment is correct can help maintain consistent results throughout your project.
Use Alignment Tools
Using alignment tools is essential for guaranteeing your material is perfectly positioned before cutting. Proper alignment prevents uneven edges and material waste. Start by checking the edges with a square or a straight edge to verify they’re flush. Use rulers or laser guides to confirm the material is centered and aligned with your machine’s cutting path. Adjust the material as needed, ensuring it sits flat against the work surface. Lock down the material securely to prevent shifting during cutting. Keep these points in mind:
- Use a square to check corner angles
- Rely on laser guides for precision
- Confirm material is flush with the fence or guides
- Ensure there’s no bow or warp in the sheet
- Verify water quality to prevent moisture-related warping or issues that could affect your alignment process
Accurate alignment minimizes edge issues and results in cleaner cuts.
Adjust Clamping Mechanisms
Adjusting your clamping mechanisms is essential for maintaining proper material alignment during cutting. If your sheet shifts or isn’t secure, edges can become uneven. Start by checking if the clamps are tight enough; loose clamps allow movement. If the material isn’t aligned properly, loosen the clamps, reposition the sheet, and tighten again. Make sure the clamps apply even pressure across the entire sheet to prevent warping. Proper mount stability and alignment are also crucial in deep-sky imaging to capture clear and consistent images, emphasizing the importance of secure setups. Here’s a quick guide:
| Issue | Solution |
|---|---|
| Sheet shifts during cutting | Tighten clamps or reposition clamps evenly |
| Material not aligned | Adjust clamps to align edges before cutting |
| Uneven pressure on sheet | Use equal pressure across all clamping points |
| Clamps slipping | Add anti-slip pads or replace worn clamps |
| Excessive movement | Use additional clamps for stability |
Inspecting and Calibrating Printing or Cutting Equipment
To fix edge issues, you need to make certain your equipment is properly calibrated. Start by checking the alignment settings and running calibration tests to verify accuracy. Also, inspect your equipment for proper maintenance to prevent future problems. Regularly assessing the performance of your sprayer ensures consistent results and helps identify potential issues before they impact your work.
Check Alignment Settings
Have you ever noticed misaligned prints or cuts despite your equipment appearing properly set up? It might be time to check your alignment settings. Start by reviewing the machine’s core alignment controls—these ensure the print head or blade moves precisely along the intended path. Small adjustments can make a big difference in accuracy. Additionally, verify the calibration of the equipment, as proper calibration is essential for accurate results.
Consider these key points:
- Verify the position of registration marks or guides
- Ensure the paper or material is loaded correctly and snug
- Check for any loose or damaged belts and pulleys
- Confirm the software settings match your machine’s specifications
Conduct Calibration Tests
Performing calibration tests is a vital step to guarantee your printing or cutting equipment operates accurately. These tests help identify misalignments or sensor issues that could cause uneven edges. Start by running a test print or cut using calibration targets provided by the manufacturer. Check the results carefully, looking for deviations or inconsistencies along the edges. If you notice discrepancies, follow the device’s calibration procedures, which may include adjusting sensors, recalibrating the blade or print head, or resetting alignment settings. Document your adjustments to track changes over time. Regular calibration ensures your equipment maintains precision, reduces waste, and prevents edge problems. Always consult your machine’s manual for specific calibration instructions to achieve ideal results. Additionally, incorporating ventilation considerations can help maintain optimal operating conditions and prolong your equipment’s lifespan.
Inspect Equipment Maintenance
Are you regularly inspecting your printing or cutting equipment to guarantee peak performance? Keeping your machinery in top shape prevents uneven edges and costly mistakes. Regular maintenance ensures accuracy and prolongs equipment lifespan. Here are key areas to focus on:
- Check for loose or worn belts and rollers
- Clean print heads and cutting blades
- Verify calibration settings and adjust as needed
- Inspect sensors and alignment guides for debris or damage
- Utilize quality maintenance tools to facilitate proper upkeep and ensure consistent operation.
Ensuring Proper Material Loading and Feeding
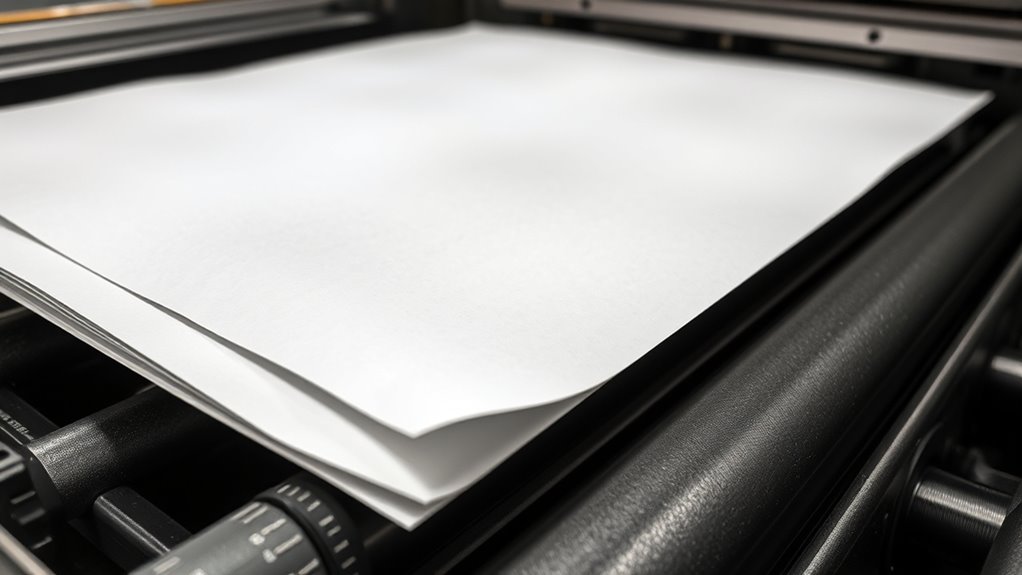
Proper material loading and feeding are essential for preventing edge issues and ensuring smooth operation. Begin by carefully aligning the sheets before loading to prevent skewing or misfeeds. Make sure the material rests flat against the guides and is centered within the feeding tray. Avoid overloading the feeder, as excess sheets can cause jams or uneven feeds. Check that the material stack is uniform, with no bent or curled sheets that could disrupt feeding. Confirm that the feeding mechanism is set to match the material thickness and type. Consistently monitor the feed process, adjusting the alignment if you notice any resistance or misalignment. Proper loading and feeding help maintain even edges and reduce the risk of sheet misplacement during operation. Additionally, regularly inspecting the feeding mechanism and replacing worn parts can prevent common feeding problems and improve overall performance.
Examining the Condition of Rollers and Guides

Start by inspecting your rollers for signs of wear or damage that could affect performance. Check the guide alignment to guarantee it’s precise, as misalignment can cause edge issues. Addressing these points promptly helps maintain smooth operation and improves overall quality.
Roller Wear and Tear
As rollers and guides endure constant movement and friction, they gradually experience wear that can disrupt the smooth operation of your edge system. Over time, this wear can cause misalignment, uneven pressure, and sheet misfeeds. To keep things running smoothly, regularly inspect your rollers for signs of deterioration. Look for:
- Cracks or chips on the roller surface
- Flattened or uneven roller edges
- Excessive dirt, debris, or buildup
- Loose or worn guide components
If you notice any of these issues, it’s time to replace or service the worn parts. Maintaining healthy rollers ensures consistent pressure and smooth sheet movement, preventing edge unevenness and reducing downtime. Regular checks can catch wear early before it leads to more severe problems.
Guide Alignment Accuracy
Regularly inspecting the condition of your rollers and guides helps guarantee guide alignment remains accurate. Check for signs of wear, such as cracks, smooth spots, or uneven surfaces, which can cause misalignment. Ensure the guides are straight, clean, and free of debris or buildup that could hinder proper sheet movement. Misaligned or damaged guides can lead to uneven edges and jammed sheets. When you notice any issues, replace worn rollers and realign guides promptly. Keep guides lubricated if recommended by the manufacturer, but avoid over-lubrication that can attract dust. Consistent maintenance ensures the rollers and guides work smoothly, maintaining precise guide alignment. This proactive approach minimizes sheet misfeeds and edge problems, promoting reliable, high-quality operation.
Addressing Warping or Material Deformation
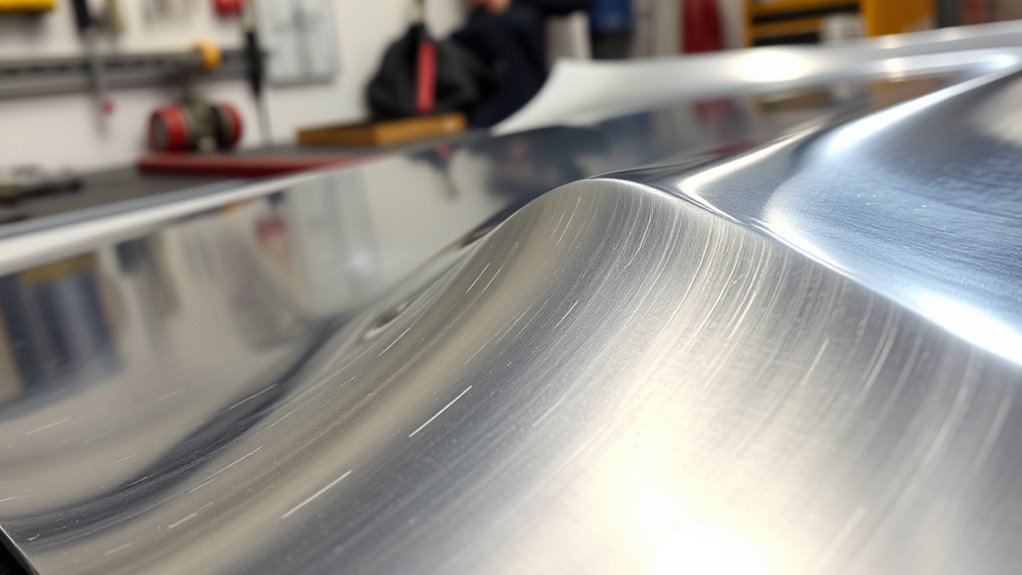
Warping and material deformation can considerably impact the quality of your edge work, but addressing these issues early can save time and resources. If your sheets are warped, it can cause uneven cuts or misalignments, leading to poor finishes. To combat this, start by inspecting your materials before use, checking for visible bends or curves. Store sheets flat in a controlled environment to prevent further deformation. Use proper handling techniques to avoid stressing the material, which can worsen warping. Additionally, consider pre-heating or flattening warped sheets with specialized equipment if possible.
- Inspect sheets thoroughly before processing
- Store materials in a stable, flat position
- Handle materials carefully to prevent stress
- Use flattening techniques for severely warped sheets
Troubleshooting Misfeeds and Jams
Have you ever experienced a misfeed or jam during your edging process? It can be frustrating, but often the fix is straightforward. First, turn off the machine and carefully remove any jammed material. Check for torn edges or debris that may be blocking the feed path. Ensure the sheet is aligned properly and not curled or wrinkled. Sometimes, too much material or uneven edges cause misfeeds, so trimming or smoothing edges helps. Inspect the rollers and feed mechanism for dirt, dust, or damage, and clean or replace parts if necessary. Make sure the sheet is fed at a steady pace, avoiding sudden pulls. Regular maintenance and proper handling reduce the chances of future jams, keeping your process smooth and efficient.
Implementing Corrective Maintenance Procedures

Implementing effective corrective maintenance procedures is essential to quickly address equipment issues and minimize downtime. When problems arise, you need a clear plan to identify, fix, and verify the root cause efficiently. Start by documenting the issue thoroughly to track recurring problems and identify patterns. Prioritize repairs based on impact and safety considerations. Use a systematic approach, such as troubleshooting checklists, to ensure nothing is overlooked. Communicate clearly with your team, assign specific responsibilities, and keep records of all actions taken. This helps streamline future maintenance and reduces repeat issues. Remember, proactive communication, detailed documentation, and a structured process are key to minimizing disruption and maintaining smooth operations. Proper corrective procedures lead to faster resolutions and more reliable equipment performance.
Choosing the Right Material for Your Equipment

Selecting the appropriate material for your equipment is essential because it directly impacts durability, performance, and maintenance needs. The right choice ensures your equipment withstands wear and tear while maintaining consistent edges. Consider factors like flexibility, resistance to corrosion, and ease of cleaning. For example, metal offers strength but may require regular lubrication, whereas plastic is lightweight and corrosion-resistant but less durable. Use the table below to compare common materials:
| Material | Key Benefit |
|---|---|
| Steel | High strength |
| Aluminum | Lightweight, corrosion-resistant |
| Plastic | Easy to clean, flexible |
| Rubber | Absorbs impact, flexible |
| Copper | Good conductivity, corrosion-resistant |
Choosing wisely helps prevent edge issues caused by material failure or incompatibility.
Preventative Measures to Maintain Consistent Edges
Maintaining consistent edges requires proactive measures to prevent issues before they arise. Regularly inspect your equipment and sheets to catch potential problems early. Keep the blades sharp and properly aligned to guarantee clean cuts. Use consistent pressure and speed during operation to avoid uneven edges. Additionally, ensure your materials are properly prepared—clean, dry, and free of debris. These steps help prevent common issues that cause uneven edges.
- Regularly sharpen and calibrate blades
- Maintain consistent cutting speed and pressure
- Keep materials clean and dry
- Conduct routine equipment inspections
Frequently Asked Questions
What Are the Signs Indicating a Need for Equipment Replacement?
You need to replace your equipment when you notice persistent uneven sheet edges, frequent malfunctions, or increasing downtime. If your machines struggle to produce consistent results despite adjustments, or if repairs become costly and ineffective, it’s a clear sign. Unusual noises, excessive wear, or outdated technology also indicate it’s time for replacement. Don’t delay—upgrading guarantees smooth operation, better quality, and avoids costly breakdowns.
How Often Should Maintenance Be Performed to Prevent Edge Issues?
Think of your equipment as a garden that needs regular tending. You should perform maintenance at least every three to six months, depending on usage. This proactive approach keeps everything running smoothly, preventing issues like uneven edges. Regular checks and timely adjustments act like watering and fertilizing, ensuring your equipment stays healthy and efficient. Staying consistent with maintenance helps you avoid costly repairs and keeps your production flowing seamlessly.
Can Environmental Factors Affect Sheet Edge Quality?
Yes, environmental factors can affect sheet edge quality. Changes in humidity, temperature, and exposure to dust or contaminants can cause the material to expand, contract, or become brittle, leading to edge defects. You should monitor and control your environment closely, maintaining stable conditions to prevent these issues. Regularly cleaning and sealing your workspace also helps protect the sheets from environmental damage, ensuring consistent edge quality.
Are There Specific Tools Recommended for Precise Adjustments?
You should use precision tools like calipers, edge guides, and fine-tipped screwdrivers for exact adjustments. I once worked on a printer where a tiny misalignment caused uneven edges; using a caliper helped me spot and correct the issue swiftly. These tools allow you to make fine tweaks, ensuring your sheet edges stay straight and smooth. Rely on them for consistent, professional results every time.
How Do Different Materials Respond to Various Troubleshooting Techniques?
Different materials react uniquely to troubleshooting techniques. For example, thin metals bend easily with gentle heat, while plastics may warp or crack if overheated. Fabrics like paper or fabric can be adjusted with light pressure or steam, but delicate materials require careful handling. You should test small sections first, use appropriate tools, and adjust your approach based on the material’s flexibility, heat sensitivity, and durability to achieve the best results.
Conclusion
By paying close attention to these tips, you’ll gently guide your equipment back on track, ensuring smoother, more consistent edges. With a little patience and regular care, you can keep pesky issues at bay and enjoy flawless results. Remember, a well-maintained setup isn’t just about fixing problems—it’s about creating a seamless process that makes your work more enjoyable. Trust your skills, stay proactive, and watch your projects come out perfectly every time.