
To guarantee quality control during construction, you should develop a clear photo check strategy at each stage. Capture high-resolution images from consistent angles after milestones like foundation, framing, electrical, and finishes. Organize and label your photos by date and stage, and regularly review them to spot issues early. Using organized visual records not only helps monitor progress but also supports effective communication and dispute resolution. Keep exploring to discover how to make this process even more effective.
Key Takeaways
- Outline specific photo documentation points for foundation, framing, electrical, plumbing, and finishes stages.
- Capture consistent, high-quality images after each milestone to track progress and quality.
- Label photos with date, stage, and location details for organized reference.
- Review images regularly to identify defects, misalignments, or incomplete work early.
- Use photos as objective evidence to communicate progress, resolve disputes, and ensure compliance.
Planning Your Photo Documentation Strategy
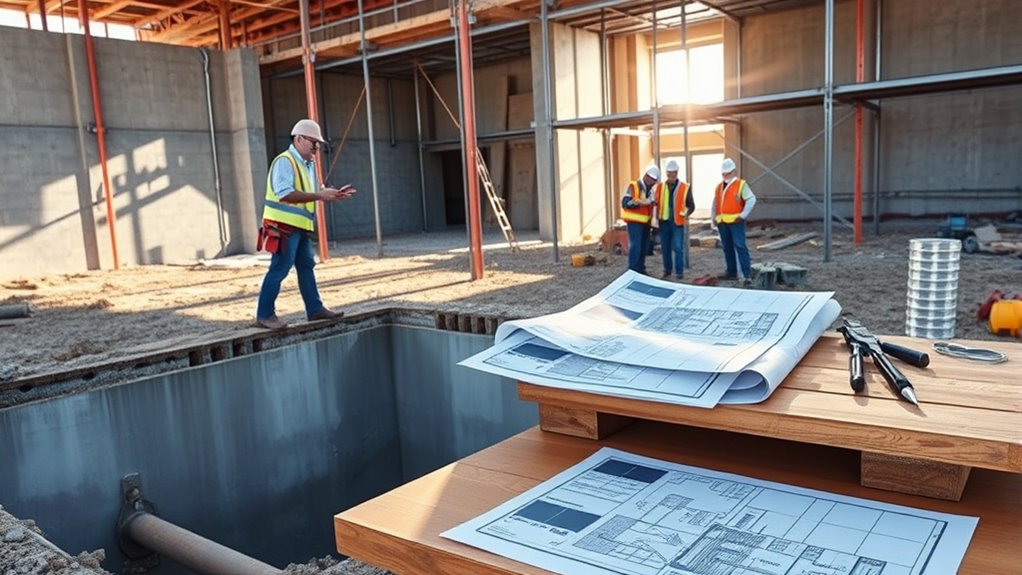
To effectively monitor your property’s quality, you need a clear photo documentation strategy from the start. Begin by outlining what specific areas and stages require photos, such as foundation, framing, electrical, plumbing, and finishes. Decide how often you’ll take photos—after each significant milestone or regularly scheduled intervals. Establish consistent angles and lighting conditions to ensure comparability over time. Assign someone responsible for capturing images and maintaining organized folders or digital files. Make sure to label each photo with date, stage, and location details. This systematic approach guarantees you have a thorough visual record, making it easier to spot issues early and communicate effectively with your construction team. Implementing quality control measures during each phase helps ensure your project meets the desired standards. Planning ahead saves time and reduces confusion later in the project.
Tools and Techniques for Effective Photo Checks

Using the right tools and techniques can substantially improve the accuracy and efficiency of your photo checks. Start with a good-quality camera or smartphone with high resolution to capture clear images. Use a consistent angle and lighting to guarantee comparability across stages. Employ a tripod or stabilizer to avoid blurry shots, especially in low light. Utilize photo organization apps or folders to categorize images by construction phase, date, or area. Incorporate annotation tools to highlight issues or details directly on the photos. Take multiple shots from different angles to get thorough views. Finally, establish a routine for reviewing images promptly, ensuring issues are documented and addressed early. These tools and techniques streamline your process, making photo checks more effective and reliable. Regional knowledge can help you understand which issues are most common in your area, allowing for more targeted inspections.
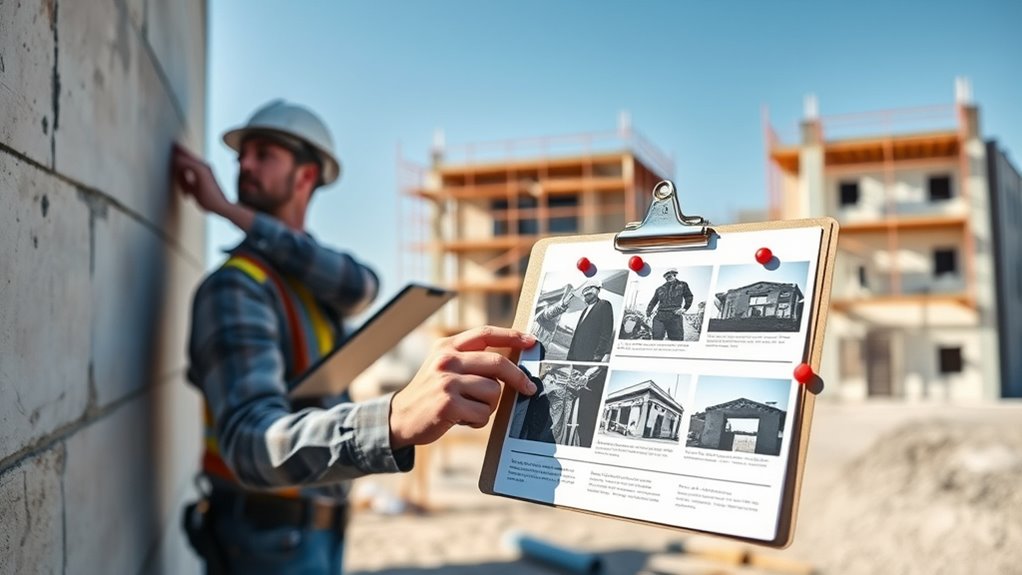
Conducting Regular Inspections and Recording Progress

Regular inspections are essential for tracking progress and catching issues early. By routinely visiting your construction site, you stay informed about how work is advancing and whether it meets quality standards. Use a checklist to ensure you cover all critical aspects of each stage, such as foundation, framing, and finishes. Take clear, detailed photos during each inspection—date them and note any concerns or deviations from plans. Record your observations in a dedicated log or digital app for easy tracking. Consistent documentation helps you identify patterns, verify that work aligns with schedules, and provides evidence if disputes arise. Making regular inspections a habit keeps you proactive, minimizes costly mistakes, and guarantees your project stays on course. Incorporating quality control techniques into your routine ensures that each phase meets the required standards and reduces the risk of rework.
Analyzing Photos to Identify Issues Early

Analyzing photos taken during inspections allows you to spot issues early before they develop into costly problems. Carefully review each image for signs of defects, misalignments, or incomplete work. Pay close attention to details such as seam lines, material finishes, and fixture placements. Look for inconsistencies that may indicate problems, like uneven surfaces or gaps. Comparing current photos with previous ones helps track progress and identify new issues quickly. Use a checklist to ensure nothing is overlooked, and document concerns with clear annotations. Early detection enables you to address issues proactively, reducing repair costs and delays. Regularly analyzing photos empowers you to maintain quality standards throughout the construction process, ensuring the project stays on track and meets your expectations. Incorporating visual content analysis techniques can further enhance your ability to identify subtle issues that may not be immediately obvious in images.
Using Visual Records to Support Communication and Dispute Resolution
Clear visual records from inspections serve as vital tools to enhance communication between project teams, clients, and stakeholders. When disagreements arise, these photos provide an objective basis to clarify issues quickly. They help you verify whether work meets specifications or if changes are needed, reducing misunderstandings. Visual documentation also supports dispute resolution by offering clear evidence of the construction progress and quality at each stage. This can prevent delays and legal complications, saving you time and money. Sharing organized photo records ensures everyone is on the same page, fostering transparency and accountability. In disputes, these images become powerful tools to support your claims, making it easier to negotiate or escalate issues confidently. Incorporating simple tools like BTU and CADR quick‑calculators can further assist in verifying work quality related to comfort and efficiency. Ultimately, visual records strengthen your control over the project’s outcome.
Frequently Asked Questions
How Can I Ensure Privacy When Taking Photos On-Site?
You can guarantee privacy by obtaining consent from workers and visitors before taking photos. Use signs to clearly indicate photo-taking areas and restrict images to necessary angles. Avoid capturing sensitive information or personal details, and keep photos secure on password-protected devices. Communicate your privacy policies transparently, and only share images with authorized personnel. These steps help protect everyone’s privacy while maintaining quality control on-site.
What Are the Legal Considerations for Photo Documentation?
You need to guarantee you comply with privacy laws and obtain necessary permissions before taking photos on-site. Avoid capturing identifiable images of individuals without consent, and be mindful of sensitive areas or proprietary information. Keep records of permissions and use photos solely for project purposes. Regularly review local regulations regarding photography and privacy to stay compliant and protect everyone’s rights throughout the documentation process.
How Should I Organize and Store My Photo Records?
You should organize your photo records in clearly labeled folders by construction stage and date. Use consistent naming conventions, including project details and timestamps, to easily locate images later. Store your photos securely in cloud storage or on an external drive with backup copies. Regularly update and review your files to guarantee completeness. This approach helps you maintain a reliable, accessible record of your construction progress and quality checks.
What Quality Standards Should Photos Meet for Official Documentation?
Think of your photos as the blueprint of quality for your project. They should be clear, well-lit, and capture each stage accurately. Make certain date and time stamps are visible, and include specific details like measurements or materials. Consistent angles and perspectives help track progress. Remember, these standards turn your photos into reliable evidence, much like a detailed map guiding you through the construction journey.
How Do I Handle Sensitive or Confidential Project Images?
You should handle sensitive or confidential project images by storing them securely, such as in encrypted folders or password-protected systems. Limit access to authorized personnel only, and avoid sharing images through unsecured channels. Make sure you have clear policies on confidentiality and train your team to follow them. Regularly review your security measures to guarantee confidential information remains protected throughout the project lifecycle.
Conclusion
By consistently capturing clear photos at each stage, you create a visual story of your construction journey. These images serve as your eyes on the ground, revealing issues early before they grow. With each snapshot, you build a reliable record, turning chaos into clarity. When challenges arise, your photos become your voice, guiding conversations and resolutions. Embrace this visual approach, and watch your project progress smoothly, like a well-orchestrated symphony of progress and precision.