To set up your new robotic pool cleaner, first unbox and inspect all parts for damage or missing pieces, then assemble the brushes, filters, and wheels as instructed. Connect the device to a power source, turn it on, and check that it responds with lights or sounds. Program your preferred cleaning modes and schedules through the control panel or app. Ensuring proper setup and customization helps optimize performance—keep going to learn all the tips for long-term use.
Key Takeaways
- Unbox and inspect all components, ensuring no damage or missing parts, and prepare the pool by cleaning debris and balancing chemistry.
- Assemble brushes, filters, wheels, and other parts according to manufacturer instructions, then connect to a power outlet securely.
- Power on the device, verify operational indicators, and check device compatibility and safety features before initial use.
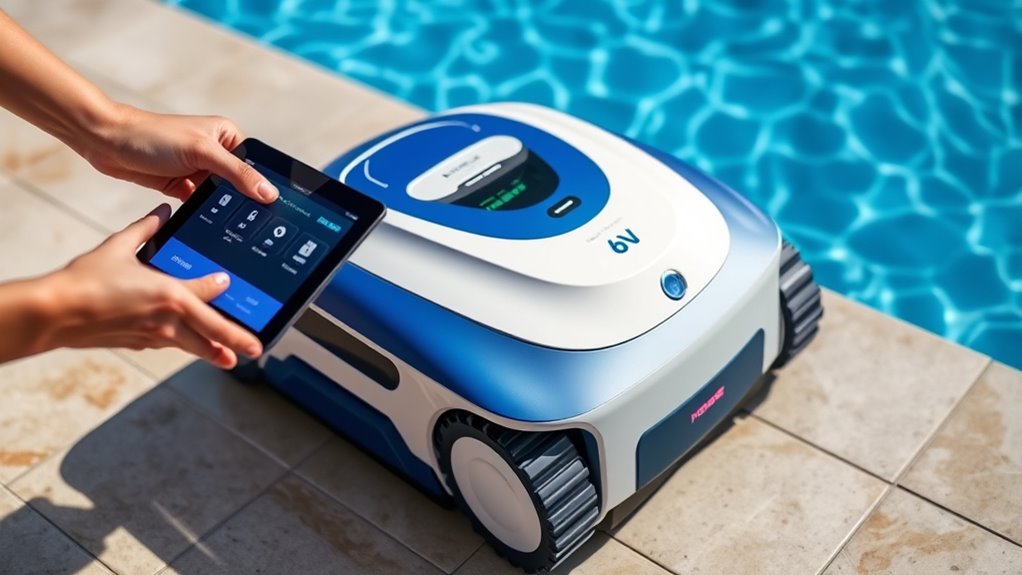
- Use the remote or onboard controls to set cleaning modes, schedules, and navigation preferences based on pool shape and needs.
- Regularly maintain brushes, filters, and sensors, update firmware, and troubleshoot connectivity or power issues for optimal performance.
Unboxing and Inspecting Your Robotic Pool Cleaner

Have you ever wondered what to expect when unboxing your new robotic pool cleaner? When you first open the box, you’ll find your robotic pool cleaner nestled securely among the unboxing essentials, which typically include a power supply, a charging dock, and sometimes a remote control. Carefully inspect each component for any shipping damage or missing parts. Check the user manual for initial instructions and safety warnings. Make sure the robotic pool cleaner’s body, brushes, and wheels are intact. Remove any protective packaging or plastic film. Confirm that the power cord is undamaged and properly connected. This initial inspection guarantees everything’s in good shape before you proceed with setup, giving you confidence that your robotic pool cleaner is ready to tackle the cleaning task ahead. Additionally, performing a quick Kia Tuning check on the motor and sensors can ensure optimal performance during operation. Ensuring your workspace is ergonomically optimized can also help you stay comfortable and alert during setup and maintenance tasks. Remember to verify the air quality in your workspace, as good ventilation can improve your overall setup experience. Being aware of creativity and innovation in robotic technology can help you understand potential features and troubleshooting tips. Regularly clean and inspect the components to maintain effective operation and extend the lifespan of your robotic pool cleaner.
Preparing Your Pool Before Setup

Before setting up your robotic pool cleaner, it’s essential to prepare your pool to guarantee ideal cleaning performance. Start by testing and balancing your pool chemistry, including pH, alkalinity, and chlorine levels. Proper chemistry prevents algae growth and ensures your cleaner operates efficiently. Clear the pool of large debris like leaves and twigs, as these can clog the robot or hinder coverage. Additionally, take safety precautions by removing any obstacles from the pool area and ensuring the power supply is dry and secure. Check for any sharp objects or hazards in the water that could damage the cleaner or pose safety risks. Maintaining optimal filtering systems ensures your robotic cleaner works effectively and extends its lifespan. Staying aware of technological advancements in pool maintenance can help you select the best accessories and updates for your cleaning system. Regularly inspecting your inherited IRA beneficiary designations can prevent costly tax mistakes and ensure your assets are allocated as intended. Incorporating proper maintenance routines can further enhance the longevity and performance of your robotic cleaner. Preparing your pool thoroughly helps the robotic cleaner perform flawlessly and extends its lifespan.
Assembling the Robotic Cleaner Components
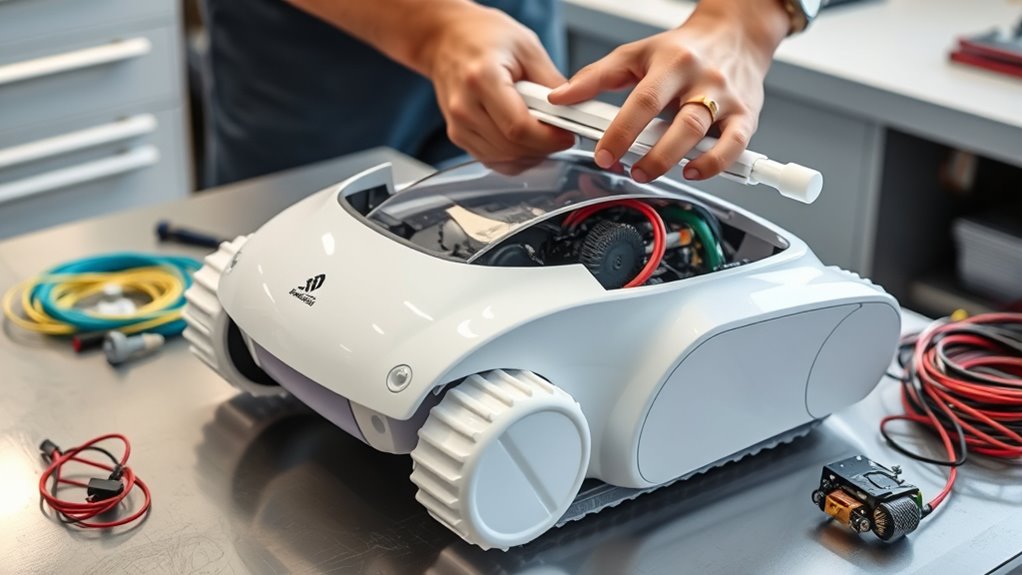
Start by unpacking all the components of your robotic pool cleaner and laying them out in a clear workspace. Check each part for compatibility, ensuring they fit together smoothly. Gather your assembly tools, such as screwdrivers or wrenches, to make the process easier. Begin by attaching the brushes and filters, following the manufacturer’s instructions. Make sure the wheels and tracks are securely connected, verifying that components align properly. Double-check that all connectors and clips snap into place without forcing. Proper assembly is vital for peak performance, so don’t skip steps or force parts. Keep your workspace organized to prevent losing small screws or parts. Taking your time during assembly ensures your robotic cleaner functions efficiently and is ready for the next setup stage.
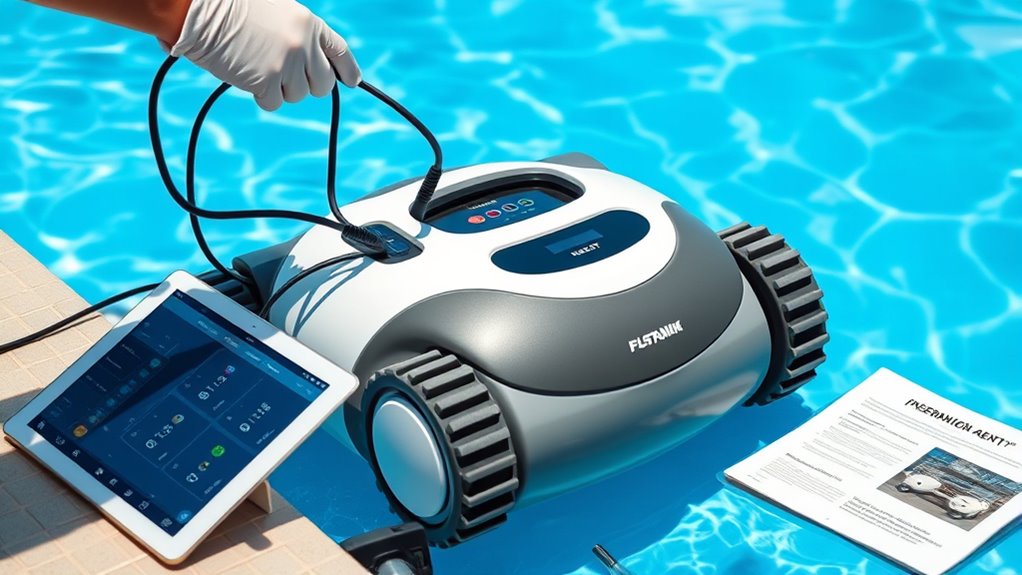
Connecting to Power and Turning On the Device

You need to connect the robotic cleaner to a power source, ensuring the plug fits securely. Once plugged in, locate the power button on the device. Press it to turn the cleaner on and start the cleaning cycle. Remember to verify device compatibility before operating to ensure optimal performance. Additionally, checking power connection safety helps prevent potential electrical issues during use. For optimal results, consider tuning Hyundai models to enhance your vehicle’s overall performance and reliability. Ensuring proper home safety protocols when handling electrical devices also contributes to a secure and effective cleaning process. Incorporating insights from electric power generation with bike generators can inspire energy-efficient practices during device operation.
Power Source Connection
Connecting your robotic pool cleaner to a power source is straightforward. First, ensure the power outlet matches the plug type of your device, considering different power outlet types in your area. Check the user manual for compatible power outlet specifications. If your cleaner uses a rechargeable battery, verify battery compatibility before charging. Plug the power cord securely into the outlet, avoiding extension cords that could cause voltage drops or hazards. For models with a dedicated charging station, place it on a flat, dry surface near the pool. Confirm that all connections are tight and secure. Once connected properly, your cleaner is ready for the next step—powering it on. Proper power connection guarantees safe operation and peak cleaning performance.
Turning Device On
Once your robotic pool cleaner is properly connected to the power source, turning it on is a simple process. Locate the power button and press it to activate the device. After turning it on, check the battery indicators to ensure the cleaner has sufficient charge for operation. If the battery level is low, recharge before starting your cleaning cycle. Some models automatically run firmware updates when powered on; if prompted, allow the update to complete to guarantee the best performance. Confirm the device responds with lights or sounds indicating it’s operational. Proper device setup is essential for optimal performance and longevity of your robotic cleaner. Additionally, periodically verifying the battery indicators helps prevent unexpected shutdowns during cleaning sessions. Regularly inspecting firmware updates ensures your device runs with the latest features and security enhancements. To maximize efficiency, always consult the manufacturer’s operating instructions for specific setup and maintenance tips. Ensuring your power connection is secure will help prevent interruptions during operation. Once activated, you can proceed with programming or setting your cleaning schedule. Regularly checking the battery indicators and firmware status helps keep your robotic pool cleaner functioning smoothly and efficiently.
Navigating the Basic Settings and Modes
Understanding the basic settings and modes of your robotic pool cleaner is essential for optimizing its performance. Navigation settings control how your cleaner moves around the pool, guaranteeing thorough coverage without missing spots. Familiarize yourself with options like wall-following or random navigation, which are designed for different pool shapes and sizes. Mode selection allows you to choose between cleaning cycles such as quick clean, deep clean, or spot cleaning, depending on your needs. To navigate these settings, consult your user manual or control panel. Adjust the navigation and mode settings before starting a cleaning session to ensure the cleaner operates efficiently. Properly selecting the right navigation and modes helps your pool stay cleaner longer and reduces the time spent on manual adjustments. Additionally, understanding cleaning cycle options can help you tailor the cleaning process to your pool’s specific needs. Recognizing the performance metrics of your cleaner, such as battery life and coverage area, can further optimize your cleaning routine.
Customizing Cleaning Schedules and Preferences
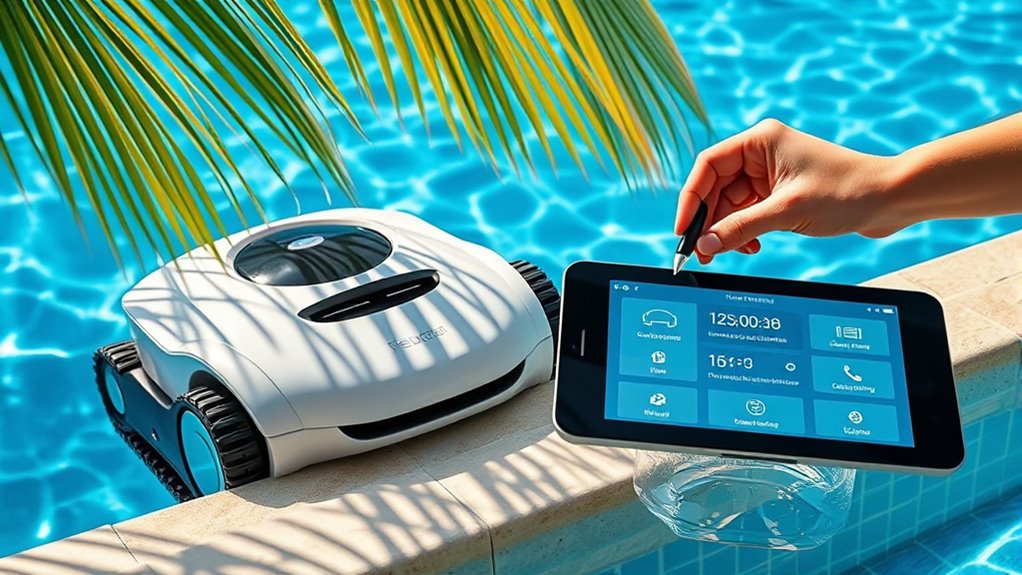
You can easily adapt your cleaner’s schedule to fit your pool use by adjusting the frequency settings. Setting specific cleaning zones helps target problem areas, saving time and energy. Additionally, creating custom cleaning modes allows you to tailor the process to your pool’s unique needs.
Scheduling Frequency Settings
To guarantee your robotic pool cleaner operates efficiently and suits your schedule, customizing the cleaning frequency is essential. You’ll want to adjust the frequency settings based on how often your pool needs cleaning. This involves selecting the ideal cleaning cycle, whether daily, every other day, or weekly. The frequency adjustment ensures your cleaner runs at intervals that match your pool’s usage and environmental factors. Most models allow you to easily set or modify these preferences through the control panel or app. By fine-tuning the cleaning cycle frequency, you prevent overworking the device or leaving your pool dirty for too long. Proper scheduling helps maintain water quality and extends the lifespan of your cleaner, making pool maintenance more manageable.
Setting Cleaning Zones
Have you considered customizing your robotic pool cleaner’s cleaning zones to target specific areas? Zone mapping allows you to define precise cleaning zones, ensuring the cleaner focuses on high-traffic or dirt-prone spots. By setting up these cleaning zones, you can optimize cleaning efficiency and reduce unnecessary coverage. Most models let you create a map of your pool, highlighting areas that need extra attention. Once mapped, you can assign different schedules or preferences to each zone, such as increased cleaning time for the shallow end or the steps. This customization helps you maintain a cleaner pool while conserving energy and extending your cleaner’s lifespan. Take advantage of zone mapping to tailor your cleaning zones to your pool’s layout and your cleaning priorities.
Custom Cleaning Modes
Once your cleaning zones are set, customizing cleaning modes allows you to tailor schedules and preferences to suit your pool’s needs. Using the remote control, you can select different cleaning modes, such as quick clean or deep scrub, depending on your pool’s condition. Regular software updates ensure your cleaner operates with the latest features and improvements, enhancing performance. Many models let you schedule cleaning sessions at specific times, so your pool stays spotless without manual intervention. Adjust cleaning preferences to focus on high-traffic areas or avoid delicate features. By customizing modes, you maximize efficiency and conserve energy. Overall, these options give you more control over your robotic cleaner, ensuring it works exactly how you want it to while keeping your pool pristine with ease.
Troubleshooting Common Setup Issues
If your robotic pool cleaner isn’t operating smoothly, identifying common setup issues can help you get it back on track quickly. One common problem is outdated software updates, which can cause malfunction or limited functionality. Check the app or control panel to ensure your device has the latest firmware installed. Connectivity issues are another frequent obstacle; make sure your cleaner is within range of your Wi-Fi network, and confirm that your router is functioning properly. Restarting the device or reconnecting it to your network can often resolve these problems. Also, verify that the power source is stable and that all cables are securely connected. Addressing these issues promptly will help your pool cleaner operate efficiently and extend its lifespan.
Maintaining and Caring for Your Robot for Optimal Performance
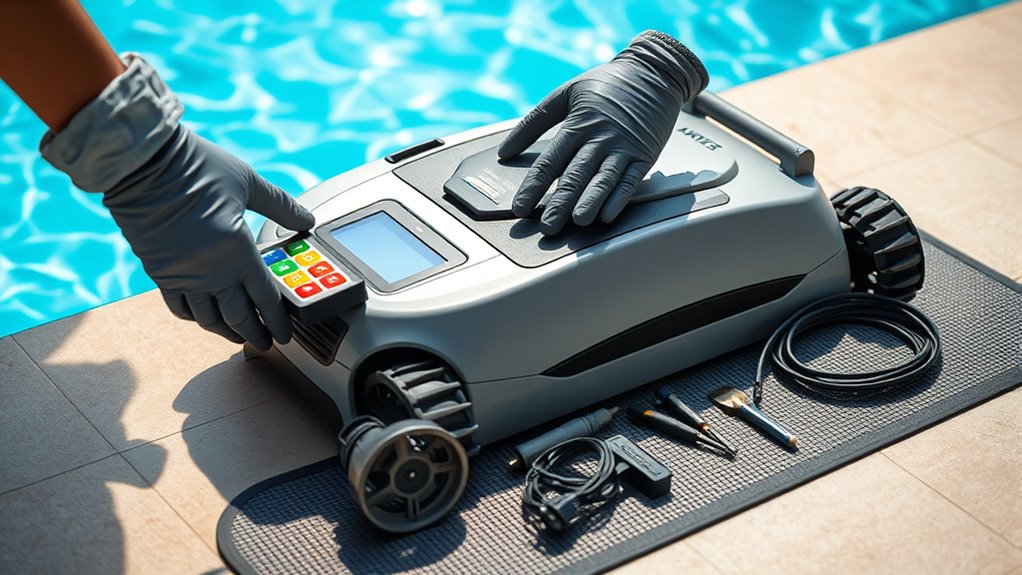
Regular maintenance is essential to keep your robotic pool cleaner operating at its best. Proper robotic maintenance involves regularly cleaning the brushes, filters, and sensors to prevent clogs and guarantee efficient cleaning. Always inspect the brushes for wear and replace them if needed. Battery care is equally important; avoid letting the battery fully drain before recharging and store it in a cool, dry place when not in use for extended periods. Keep the charging contacts clean to maintain a solid connection. Additionally, rinse your robot after each use to remove any debris or chemicals that could cause corrosion. Following these simple steps ensures your robotic pool cleaner stays in top shape, extends its lifespan, and delivers excellent performance with each pool cleaning session.
Frequently Asked Questions
How Do I Update the Robot’s Firmware?
To update your robot’s firmware, start by checking the manufacturer’s app or website for the latest software updates. Connect your robot to Wi-Fi, then follow the app’s instructions to download and install the updates. If you encounter issues, troubleshooting firmware problems often involves restarting the device, ensuring a stable internet connection, or resetting the robot. Keeping the firmware up-to-date helps improve performance and fix bugs.
Can I Use the Cleaner in Saltwater Pools?
Think of your robotic pool cleaner as a trusty sailor steering a salty sea. Yes, you can use it in saltwater pools, but check for saltwater compatibility first. To keep it sailing smoothly, follow maintenance tips like rinsing it after use and inspecting for corrosion. Regular care ensures your cleaner withstands the salty challenge and keeps your pool sparkling, no matter how briny the waters.
What Should I Do if the Robot Gets Stuck?
If your robotic pool cleaner gets stuck, first check for navigation issues or obstacles blocking its path. Remove any debris or objects hindering its movement and guarantee the cleaner’s tracks or wheels aren’t tangled. Sometimes, recalibrating the obstacle detection sensors can help. If the problem persists, consult the manual to reset the device or contact customer support. Regular maintenance prevents future navigation issues and keeps your cleaner running smoothly.
Is It Safe to Leave the Robot Unattended During Operation?
It’s no coincidence that many wonder if it’s safe to leave their robotic pool cleaner unattended. Generally, robot safety is designed for unattended operation, but you should always check your specific model’s guidelines. While most modern cleaners have safety features, it’s wise to monitor initial runs. Once you’re confident in its performance, leaving it alone during operation is usually safe, saving you time and effort.
How Do I Program Custom Cleaning Zones?
To program custom cleaning zones, you start by accessing your pool cleaner’s app or control panel. Use the zone mapping feature to outline specific areas you want cleaned. Then, set your scheduling routines to guarantee these zones are maintained regularly. Make certain to save your settings, and the robot will follow your designated zones during its cleaning cycles, giving you tailored coverage and efficient maintenance.
Conclusion
Now that you’ve set up your robotic pool cleaner, you’re ready to enjoy a sparkling clean pool. Remember, just like the legendary Icarus, don’t get too confident—regular maintenance keeps your robot flying high. Follow the guidelines, troubleshoot issues promptly, and keep an eye on the schedule. With a little care, your new gadget will be your pool’s loyal servant, making every swim feel like a dip in the Fountain of Youth. Happy cleaning!