
To keep LEDs bright at the edge, regularly clean dust and debris that can block light and cause overheating. Check electrical connections for looseness or damage, and make certain the power supply and drivers are compatible and functioning properly. Manage heat by providing good ventilation and using quality heatsinks to prevent thermal stress. Monitoring performance and inspecting components early helps avoid dimming or flickering. Continue exploring these techniques to maximize LED lifespan and brightness.
Key Takeaways
- Regularly clean LED fixtures and vents to prevent dust buildup that reduces brightness and causes overheating.
- Monitor environmental conditions like temperature and humidity to avoid thermal stress and moisture-related issues.
- Check electrical connections and wiring periodically to ensure secure contacts and prevent flickering or dimming.
- Use compatible, high-quality drivers and proper heat dissipation solutions to maintain consistent brightness.
- Perform routine inspections and replace aging components proactively to sustain optimal LED performance.

Screen Cleaner Spray (16oz – 473ml) – Best Large Cleaning Kit for LCD LED OLED TV, Smartphone, iPad, Laptop, Touchscreen, Computer Monitor, Electronic Devices, Microfiber Cloth Wipes and 2 Nozzles
SCREEN CLEANER SPRAY and cloth are designed for the high-end devices and works flawlessly for all electronic screens,…
As an affiliate, we earn on qualifying purchases.
As an affiliate, we earn on qualifying purchases.
Understanding the Basics of LED Longevity
LED longevity depends on several key factors, including quality components, operating conditions, and proper maintenance. When you choose high-quality LEDs, you’re investing in longer-lasting performance because better components resist wear and thermal stress. Operating conditions matter too; LEDs perform best within recommended temperature ranges. Excessive heat accelerates component degradation, shortening their lifespan. Proper installation is vital—poor connections or improper wiring can cause overheating or electrical stress. Additionally, avoiding power surges and voltage fluctuations helps preserve LED health. While maintenance isn’t the focus here, understanding these basics guarantees you appreciate how quality, environment, and correct setup contribute to your LEDs shining brightly for years. Recognizing these factors helps you make informed decisions and optimize your lighting system’s durability. Understanding these factors can also guide you in selecting appropriate cooling solutions to extend LED lifespan.

Klarlight 15W DC 12V Waterproof IP67 LED Driver Transformer, 110V AC to 12V DC Converter for Outdoor LED Lights (Pack of 2)
*DC 12V LED Transformer- 15W constant voltage LED power supply driver. AC 100-265V to DC 12V, great for…
As an affiliate, we earn on qualifying purchases.
As an affiliate, we earn on qualifying purchases.
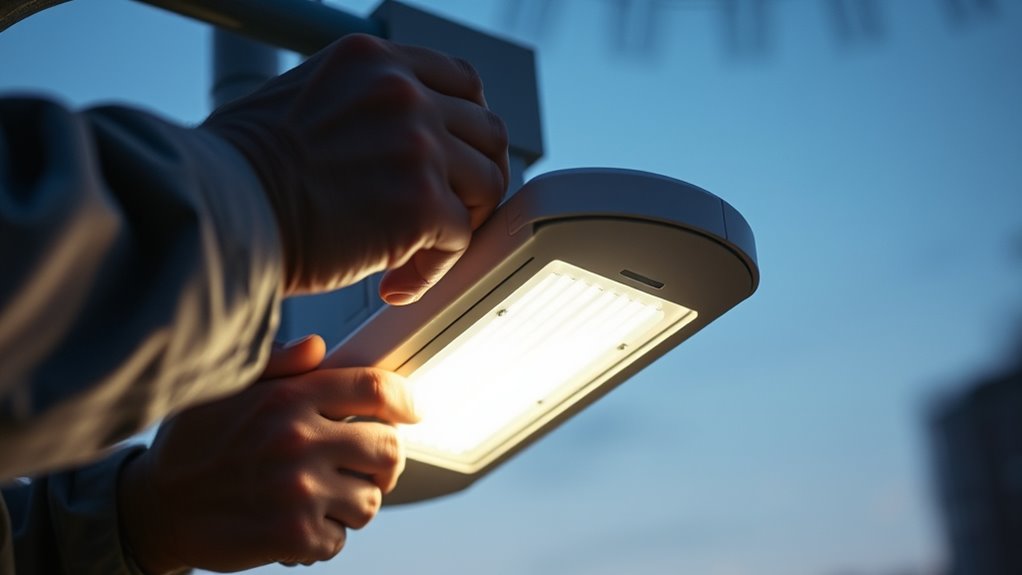
Regular Cleaning and Dust Removal Techniques

Regular cleaning and dust removal are essential for maintaining peak LED performance. Dust buildup can reduce light output and cause overheating, shortening the LED’s lifespan. To keep LEDs bright, regularly wipe the surface with a soft, lint-free cloth. Use compressed air to blow dust from vents and crevices. Avoid harsh chemicals that could damage the components. Establish a cleaning schedule based on your environment; high-dust areas need more frequent attention. Here’s a quick guide:
| Cleaning Tool | Purpose |
|---|---|
| Microfiber Cloth | Gentle surface cleaning |
| Compressed Air | Dust removal from vents |
| Isopropyl Alcohol | Removing stubborn grime |
Stick to these simple techniques to ensure your LEDs stay bright and efficient longer. Regular maintenance can also help prevent issues related to dust buildup that might affect vehicle tuning and performance.

Aoretic 2-Pack LED Garage Lights 2 Pack-160W, 16000LM 6500K with 5+1 Deformable Panels, Indoor LED Shop Light Barn Light Garage Ceiling Lights, E26/E27 for Garages, Warehouse, Shop, Basement
【Ultra Bright 16000 Lumens 】360°Super Brighter Illumination with 228 pieces of LED lights, total 160W,Produce 16000lumens. In addition,…
As an affiliate, we earn on qualifying purchases.
As an affiliate, we earn on qualifying purchases.
Monitoring for Signs of Dimming or Flickering

You should regularly check your lighting for early signs of dimming or flickering, which can indicate underlying issues. Environmental factors like temperature fluctuations or vibrations might contribute to these problems, so keep these in mind. When flickering occurs, troubleshooting quickly can help identify whether it’s a wiring issue, a bulb problem, or something else entirely. Ensuring proper maintenance and timely filter replacement can also prevent performance issues in LED lighting systems.
Recognizing Early Warning Signs
Early detection of dimming or flickering lights is essential for maintaining a safe and efficient lighting system. You should regularly observe your LEDs for subtle changes in brightness or color consistency. Flickering that occurs intermittently or dimming over time may signal an underlying issue, such as loose wiring, overheating, or degraded components. Pay attention to flickering patterns—if they become more frequent or intense, it’s a clear warning sign. Unusual noises near fixtures or inconsistent lighting output are also red flags. By staying vigilant and recognizing these early signs, you can address problems before they escalate, reducing the risk of complete failure and ensuring the longevity of your LED system. Proper maintenance practices can help prevent issues like overheating or wiring problems, which are common causes of lighting failures. Prompt action keeps your lighting reliable and safe for everyone.
Impact of Environmental Factors
Environmental factors such as temperature fluctuations, humidity, and vibrations can markedly influence the performance of your lighting system. Excessive heat can cause LED components to degrade faster, leading to dimming over time. High humidity levels promote moisture buildup inside fixtures, increasing the risk of corrosion and electrical faults that cause flickering or dimming. Vibrations from nearby machinery or traffic can loosen connections or damage components, disrupting consistent light output. Regularly monitor your environment for these conditions and check your LEDs for early signs of performance issues. Proper installation and maintenance are crucial for ensuring LED longevity and performance. By maintaining stable environmental conditions and promptly addressing any fluctuations, you help guarantee your LEDs stay bright and reliable, reducing maintenance costs and extending their lifespan.
Troubleshooting Flickering Issues
Monitoring your lighting system for flickering or dimming is vital to maintaining ideal performance. Early detection helps prevent damage and guarantees consistent brightness. Watch for signs like uneven lighting, sudden flickers, or areas that appear dimmer over time. These issues often indicate loose connections, aging components, or voltage fluctuations. Addressing flickering promptly restores reliability and extends LED lifespan. Keep a close eye on your lights, and don’t ignore irregular behavior. The following table highlights common causes and emotional impacts of flickering:
| Cause | Emotional Impact | Solution |
|---|---|---|
| Loose wiring | Frustration, anxiety | Tighten connections |
| Power surges | Anxiety, concern | Install surge protectors |
| Age-related wear | Worry, uncertainty | Replace faulty components |
| Voltage fluctuations | Stress, unease | Stabilize power supply |
Additionally, understanding electrical issues can help you better identify and resolve underlying problems that contribute to flickering.

WOLFBOX MegaFlow 50 Compressed Air Duster-110000RPM Super Power Electric Air Duster, 3-Gear Adjustable Mini Blower with Fast Charging, Dust Blower for Computer, Keyboard, House, Outdoor and Car
Powerful Turbo Fan:WOLFBOX MegaFlow 50 electric air duster reaches speeds of up to 110,000 RPM, effectively removing dust…
As an affiliate, we earn on qualifying purchases.
As an affiliate, we earn on qualifying purchases.
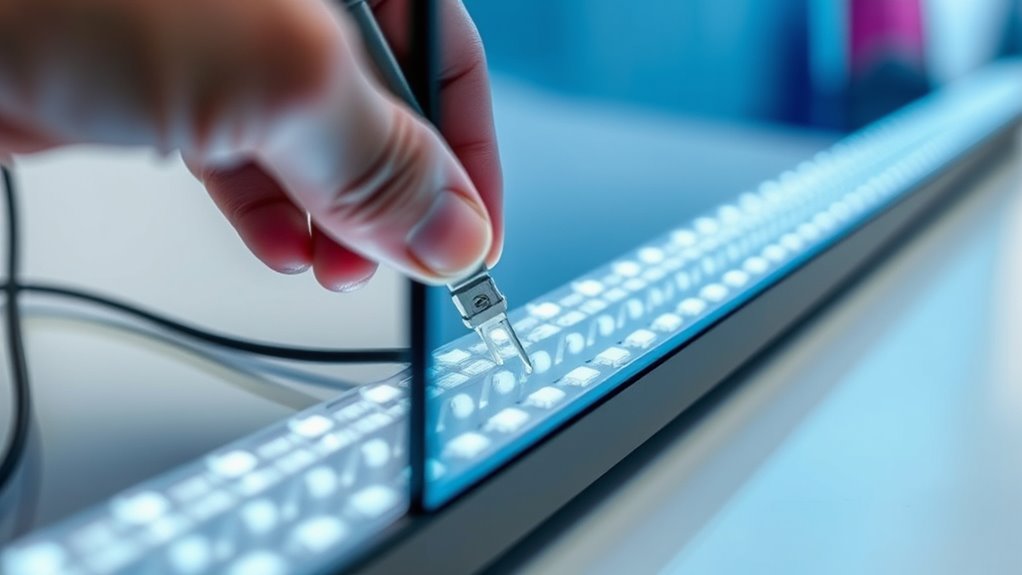
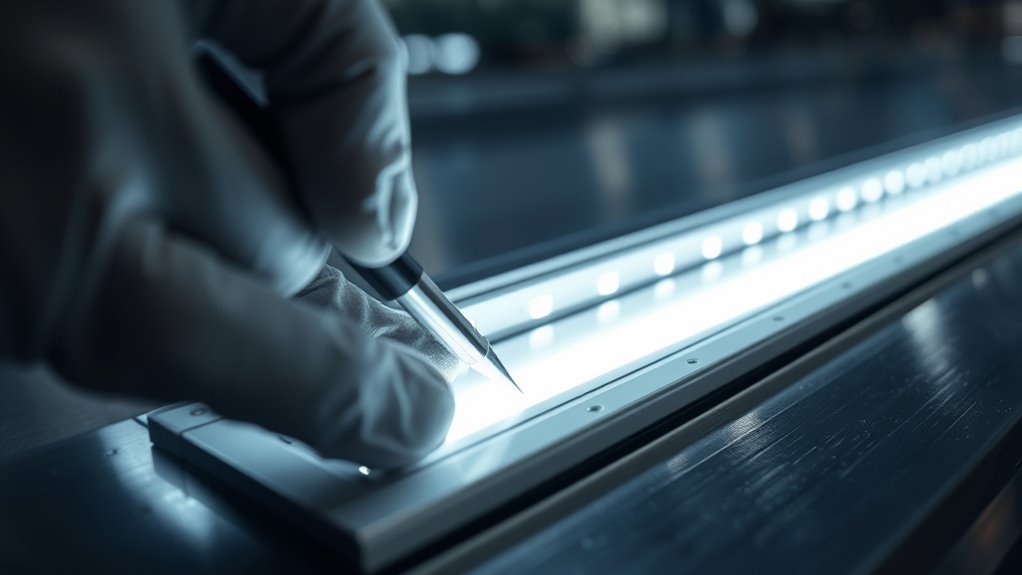
Proper Electrical Connections and Wiring Checks
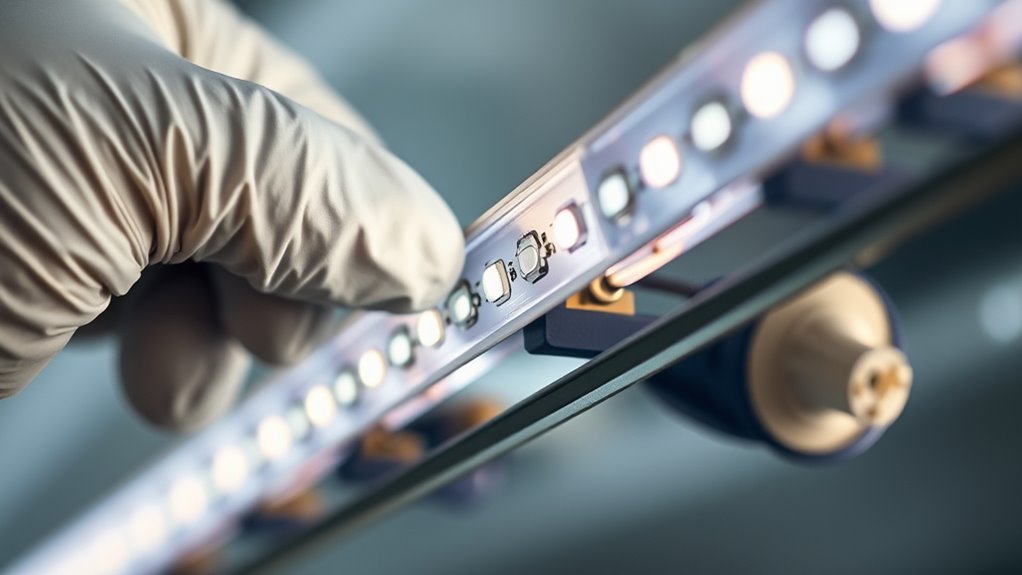
Ensuring your electrical connections are secure is essential for safe and reliable lighting. Regularly inspect wiring for loose or damaged connections that could cause flickering or outages. Use proper techniques to tighten connections and follow wiring inspection procedures to catch potential issues early. Incorporating automated insights can help identify irregularities in wiring patterns, reducing the risk of electrical failures.
Secure Connection Techniques
To guarantee your lighting system operates safely and reliably, it’s vital to establish secure electrical connections and perform thorough wiring checks. Start by ensuring all connectors are tightly secured and free of corrosion or debris. Use appropriate tools to tighten terminal screws without over-tightening, which can damage components. Verify that wires are stripped correctly—no more than necessary—and inserted fully into connectors or terminals. Avoid exposed or frayed wires that could cause shorts or electrical faults. When connecting wires, match the correct polarity and color codes to prevent miswiring. Double-check all connections for stability and security before powering on the system. Properly secured connections not only prevent outages but also reduce the risk of electrical fires or damage, ensuring your LEDs perform at their best over time. Additionally, understanding the importance of color accuracy helps in selecting and maintaining lighting systems that deliver consistent and vibrant illumination.
Wiring Inspection Procedures
Regular wiring inspections are essential to maintaining a safe and reliable lighting system. You should regularly check for loose, frayed, or damaged wires that could cause shorts or failures. Confirm all connections are tight and secure to prevent flickering or outages. Power down the system before inspecting to avoid shocks. Use a multimeter to verify proper voltage and continuity. When inspecting wiring, visualize the connections with this table:
| Connection Type | Signs of Wear | Action Needed |
|---|---|---|
| Power supply lines | Corrosion or discoloration | Replace or repair wiring |
| Connectors | Loose or burnt contacts | Tighten or replace |
| Ground wires | Frayed or broken | Repair or replace |
Additionally, lighting maintenance should include checking for proper electrical connections and wiring integrity to ensure LEDs remain bright and functioning correctly. Stay vigilant during inspections to keep LEDs bright and your system safe.
Managing Heat Dissipation for Optimal Performance
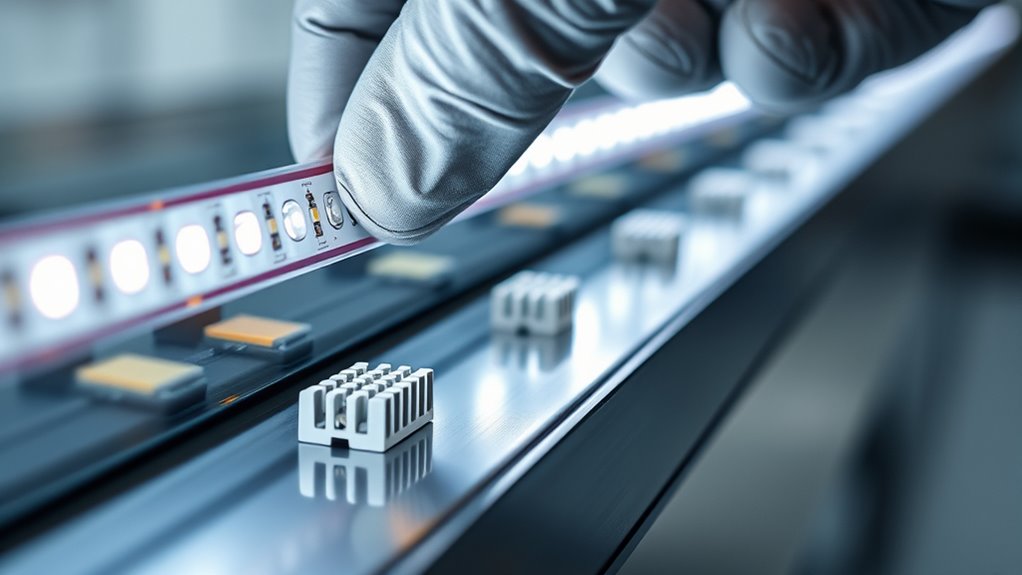
Effective heat dissipation is essential for maintaining the performance and longevity of lighting fixtures. When LEDs overheat, their brightness diminishes, and their lifespan shortens. To manage heat effectively, ensure your fixtures have proper ventilation and use high-quality heatsinks. Regularly clean dust and debris from cooling components, as accumulation impairs heat transfer. Consider installing thermal management accessories like fans or heat pipes if the environment is particularly warm or the fixture operates continuously. Avoid placing LEDs in enclosed or poorly ventilated spaces, which trap heat and cause overheating. Monitoring temperature levels with thermal sensors can help you identify potential issues early. Implementing thermal management strategies can significantly improve heat dissipation efficiency. By prioritizing efficient heat dissipation, you keep your LEDs operating at peak brightness and extend their service life.
Using Compatible Power Supplies and Drivers

Choosing the right power supplies and drivers is essential for guaranteeing your lighting fixtures operate safely and efficiently. Select drivers that match your LED’s voltage and current requirements to prevent overheating or dimming issues. Using incompatible drivers can cause flickering, reduced lifespan, or damage to your LEDs. Always verify the driver’s wattage capacity aligns with your LED load to avoid overloads. Opt for high-quality, certified drivers that offer protections like short-circuit, over-voltage, and thermal safeguards. Proper matching not only enhances performance but also prolongs your fixtures’ life. Avoid makeshift solutions or generic power supplies that don’t specify compatibility. When in doubt, consult manufacturer specifications or a lighting professional to ensure your power sources support your LED setup reliably and safely.
Implementing Routine Inspection and Maintenance Schedules
Properly functioning lighting systems depend on more than just selecting compatible power supplies and drivers; they require consistent inspection and maintenance to keep everything running smoothly. To stay ahead, implement a routine schedule that includes:
- Regularly checking for signs of wear or damage on LEDs and connectors.
- Cleaning fixtures to prevent dust buildup that reduces brightness.
- Testing for flickering or dimming issues and addressing them promptly.
- Monitoring overall system performance to catch early signs of failure.
Upgrading and Replacing Aging LED Components

As LED components age, their efficiency and brightness decline, making it essential to upgrade or replace them before performance issues arise. Regularly monitor your LEDs for signs of dimming, flickering, or color shifts, which indicate aging components. When detected, replace outdated modules promptly to maintain superior lighting quality. Use compatible, high-quality replacements to guarantee durability and consistent performance. Consider upgrading to newer LED technologies that offer better efficiency and longer lifespans. Keep records of component ages and replacement dates to plan maintenance proactively. Don’t wait until failures occur; proactive upgrades prevent unexpected outages and extend your system’s overall lifespan. Staying ahead of aging components ensures your lighting remains bright, reliable, and energy-efficient at the edge.
Frequently Asked Questions
How Do Environmental Factors Affect LED Lifespan?
Environmental factors markedly influence your LED lifespan. Exposure to extreme temperatures causes thermal stress, leading to early failure. Humidity and moisture can cause corrosion and short circuits, while dust and dirt clog heat sinks, reducing efficiency. UV radiation may degrade materials over time. To extend your LED’s life, guarantee proper sealing from elements, maintain ideal operating temperatures, and keep the environment clean and dry. Regular inspections help identify issues early.
What Are the Best Tools for Inspecting LED Connections?
You should use a multimeter to check the voltage and continuity of LED connections, ensuring they’re functioning properly. A magnifying glass or a jeweler’s loupe helps you spot loose or damaged wiring visually. An infrared thermometer can detect hotspots that indicate connection issues. Additionally, a specialized LED tester can quickly verify if LED modules are working correctly. Regular inspections with these tools help you maintain brightness and prevent early failure.
How Can I Prevent Electromagnetic Interference From Affecting LEDS?
To prevent electromagnetic interference (EMI) from affecting your LEDs, you should use shielded cables and guarantee proper grounding. Keep cables away from sources of EMI, like motors and radio transmitters. Use ferrite beads or EMI filters on power lines to reduce interference. Additionally, maintaining proper cable routing and avoiding long runs near electrical noise sources helps keep your LEDs functioning brightly and consistently.
Are There Safety Precautions During LED Maintenance?
When maintaining LEDs, safety is your guiding star. Think of it like handling a delicate instrument—if you rush, you risk damaging the lights or hurting yourself. Always disconnect power before working, wear insulated gloves, and use proper tools. For example, I once saw a technician avoid a shock by following safety protocols diligently. Prioritizing safety precautions guarantees your work is effective and risk-free.
How Do I Select the Right Replacement LED Components?
To select the right replacement LED components, start by checking the existing LED’s specifications, including voltage, current, and color temperature. Match the LED’s size and connector type to ensure compatibility. Consider the lumen output for brightness and verify the LED’s lifespan and power efficiency. Always choose components from reputable suppliers to guarantee quality and reliability, and double-check that the new LED meets your specific lighting needs.
Conclusion
Did you know that properly maintained LEDs can last up to 50,000 hours? By regularly cleaning, checking connections, managing heat, and upgrading when needed, you guarantee your LEDs stay bright and efficient. Skipping maintenance can reduce their lifespan by up to 30%. Stay proactive with routine inspections, and you’ll enjoy consistent, vibrant lighting that saves you money and effort in the long run. Keep your LEDs shining at their best—it’s worth the effort!